
As its website explains, LibreNMS is “a fully featured network monitoring system that provides a wealth of features and device support”. It can be used to monitor servers and services so make sure they are functioning as intended.
Setting up LibreNMS
To set LibreNMS up, we will follow the official guide, correcting some of the commands and installing some additional software.
First, we will download the latest LibreNMS code from its GitHub repository, then we will extract the Docker-related files and delete the rest of the files:
mkdir ./librenms-temp
cd ./librenms-temp
wget https://github.com/librenms/docker/archive/refs/heads/master.zip
unzip master.zip
cd ..
cp -r ./librenms-temp/docker-master/examples/compose ./librenms
rm -rf ./librenms-temp
cd librenms
We can now optionally edit the .env file (e.g. to change the default database password):
nano .envNow let’s launch the containers of LiberNMS:
sudo docker compose -f compose.yml up -dAs soon as all the containers are up, visit http://localhost:8000/ (or replace localhost with your server’s IP) and initialise LibreNMS by creating an admin account.
Installing Nagios plugins on LibreNMS Docker
After completing the LibreNMS setup, we can shut it down temporarily to install the Nagios plugins. To shut LibreNMS down, we can turn off its containers:
sudo docker compose -f compose.yml downLet’s now install nagios-plugins that will allow us to create some service checks inside LiberNMS. To do so, we will create a temporal Ubuntu container (named tmp) to install nagios-plugins copy the binaries we need to LibreNMS files and delete them:
sudo docker run --name tmp -v $(pwd)/librenms:/opt/librenms -i -t ubuntu bash
apt update
apt install nagios-plugins -y
cp -P /usr/lib/nagios/plugins/* /opt/librenms/monitoring-plugins/
exit
sudo docker rm tmp
Then, we can start LibreNMS again:
sudo docker compose -f compose.yml up -dThe plugins will now be available inside the “Add Service” menu, under “Type”.
Setting up Website checks
Now that Nagios plugins are installed, we can use the Nagios check_http plugin to monitor the status of our websites.
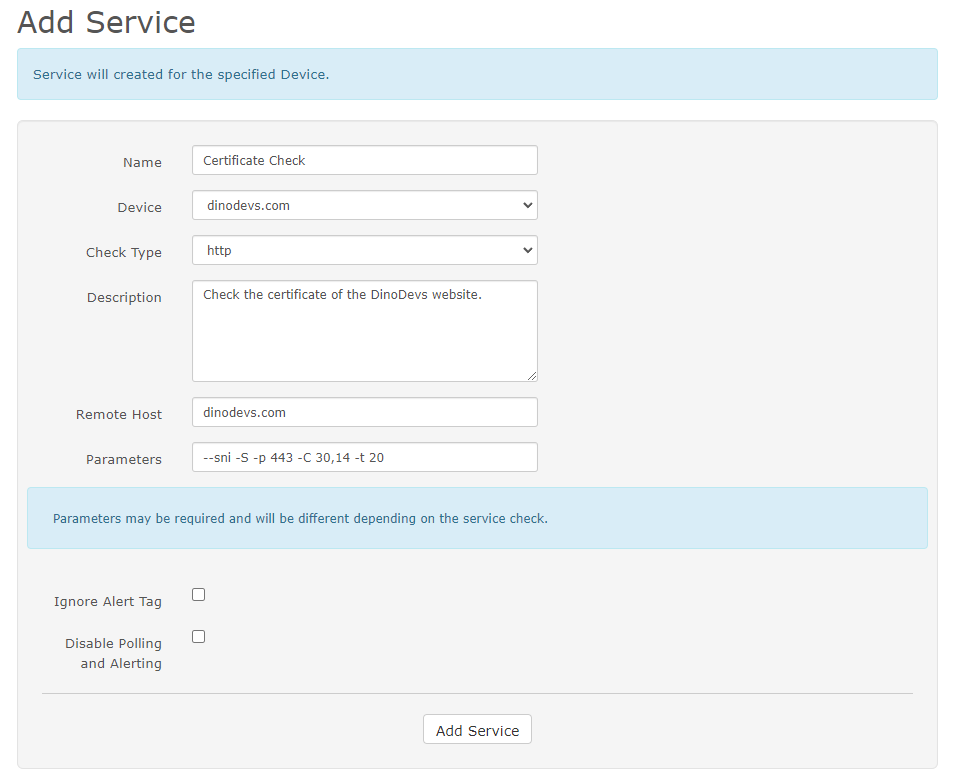
Certificate Check
Let’s create a service to check our website certificate.
- Click
+ Add Servicefrom the menu - Give a name to the service
- Select a device from the list (maybe the server hosting the website)
- Select
httpas aCheck Type - Input the domain of your website inside the
Remote Hostinput - Input the parameters
--sni -S -p 443 -C 30,14 -t 20inside theParametersinput - Click
Add Service
This will check the certificate of the website and generate a critical alert if it is about to expire in less than 14 days or generate a warning if it is about to expire in less than 30 days.
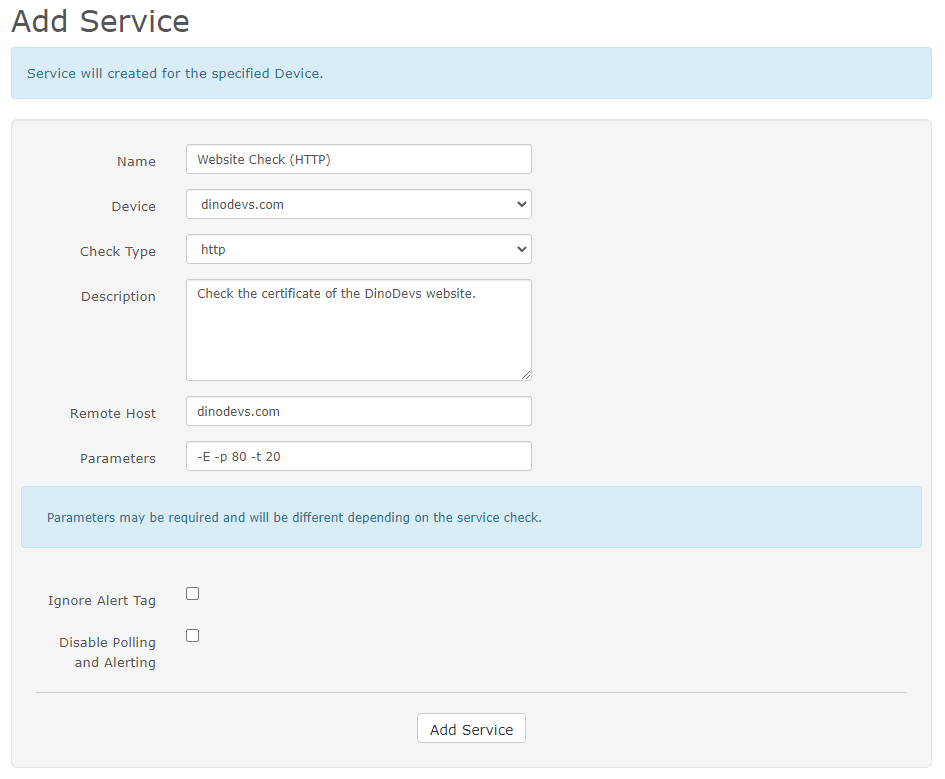
Website Check (HTTP/HTTPS)
Let’s create a service to check our website status over HTTP or HTTPS.
- Click
+ Add Servicefrom the menu - Give a name to the service
- Select a device from the list (maybe the server hosting the website)
- Select
httpas aCheck Type - Input the domain of your website inside the
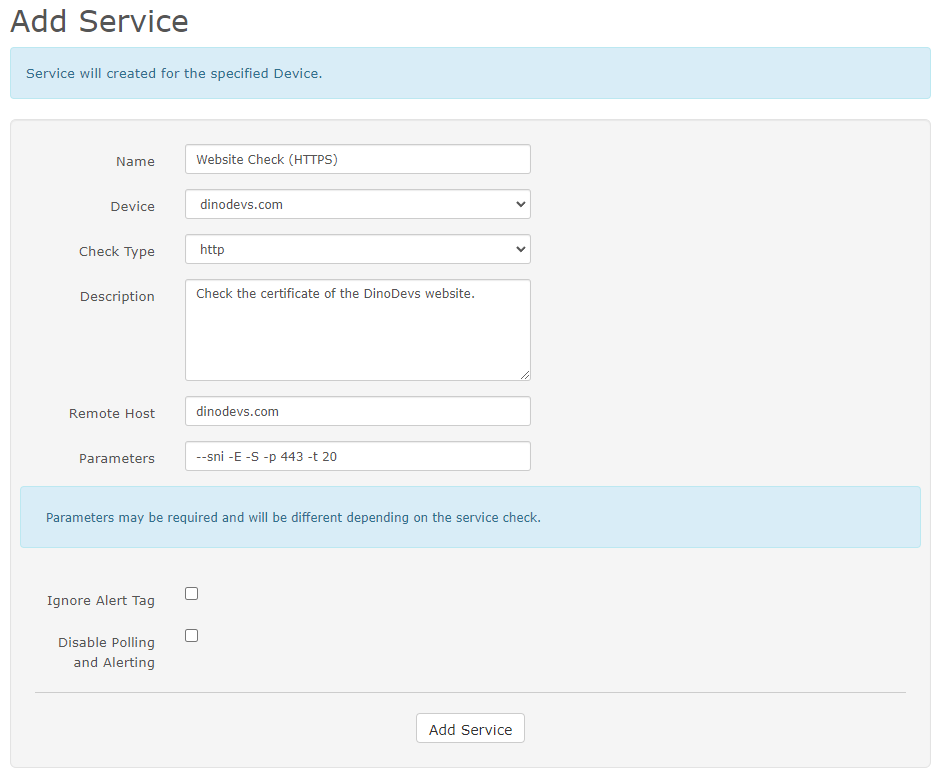
Remote Hostinput - Input the parameters inside the Parameters input
- to check an HTTP website insert the:
-E -p 80 -t 20 - to check an HTTPS website insert the:
--sni -E -S -p 443 -t 20
- to check an HTTP website insert the:
- Click
Add Service
This will check the website and generate an alert in case it throws an error or if the website is unresponsive.
Sum up
LibreMNS is an easy to setup tool that can assist you in monitoring your servers and services. Plus, it can be easily set up using Docker. You can give it a try! 😊