
Let’s say you want to run a Docker server on the cloud. Amazon Web Services (AWS) and its Elastic Compute Cloud (EC2) is one option. It’s not the cheapest one, but it’s chosen by many.
Preparing an EC2 Instance
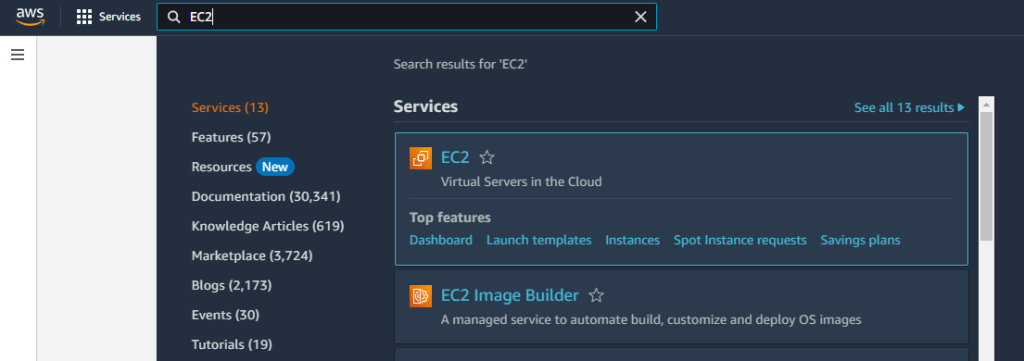
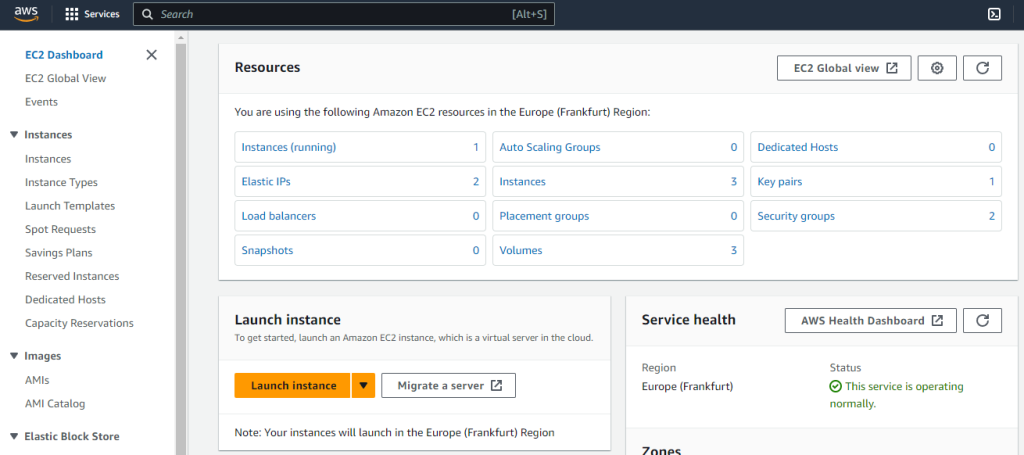
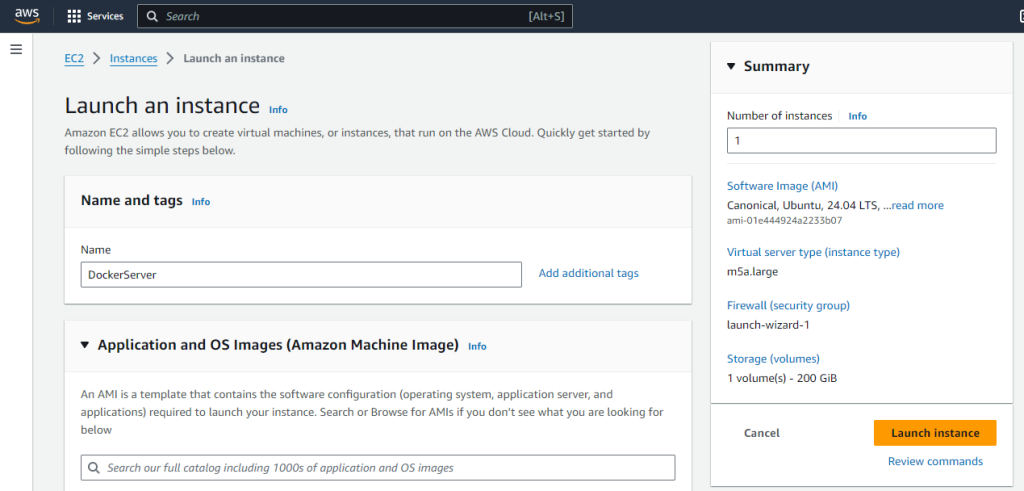
To start with, let’s prepare the EC2 instance that will be hosting our Docker server. Head to your AWS portal, log in and then find the EC2 Dashboard (you can do that by searching for “EC2” on the top search bar). Make sure you have selected the appropriate location (e.g. Frankfurt) from the dropdown list on the top right corner of the page, and then click the “Launch instance” button.
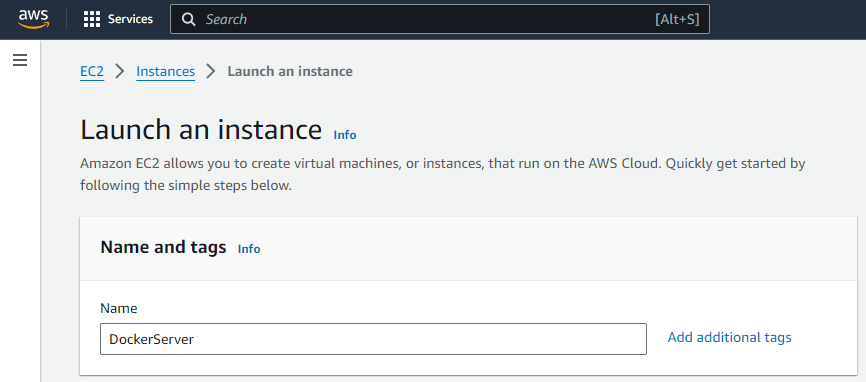
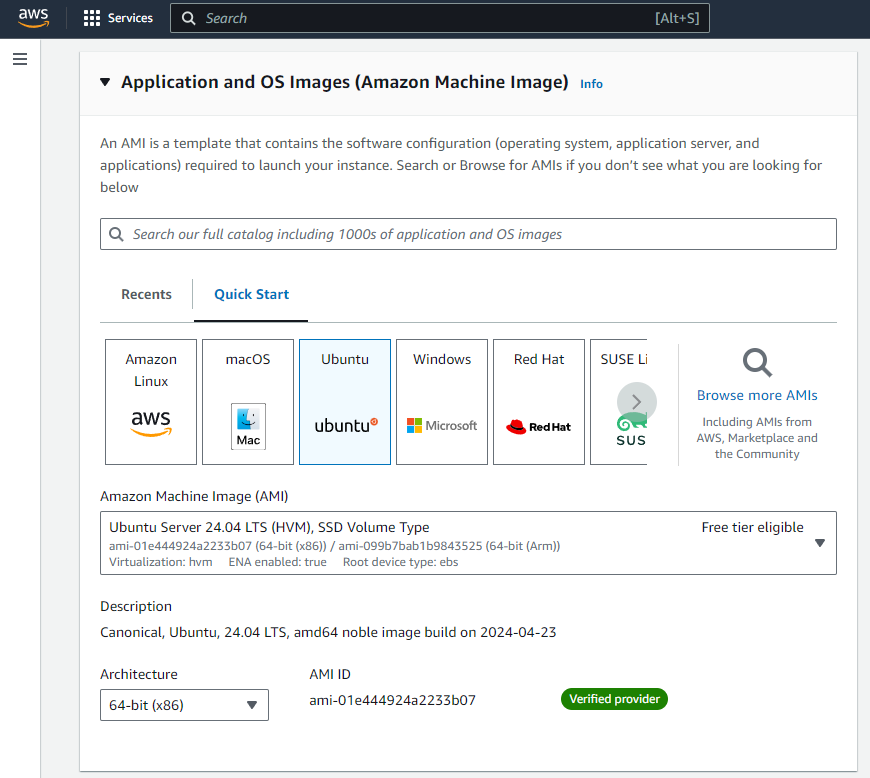
Let’s now configure the instance to be launched. To start with, we should give a name to the instance so that we can recognize it and select an OS image to install on the instance (we will be choosing the latest stable Ubuntu version).
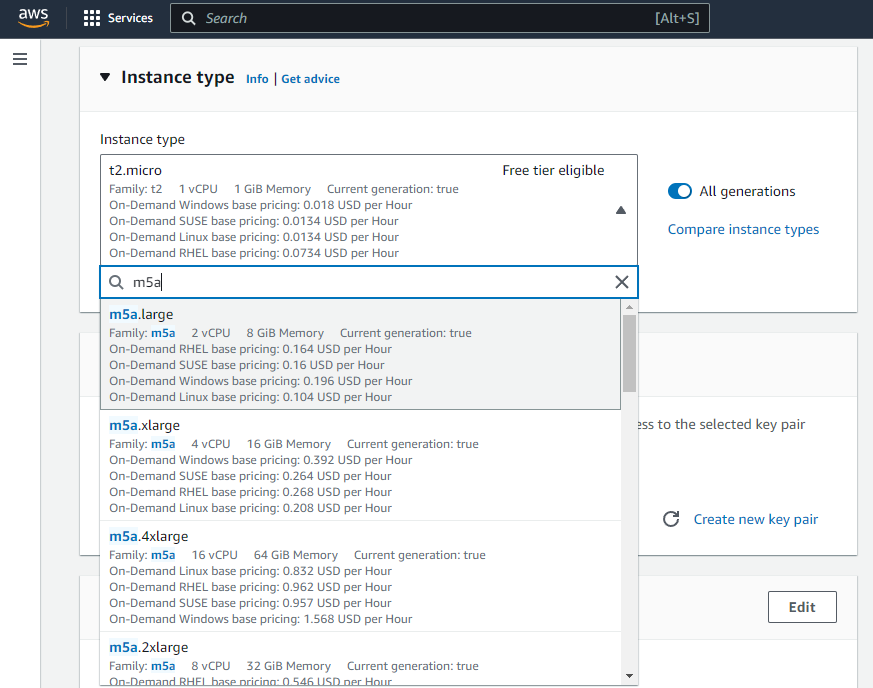
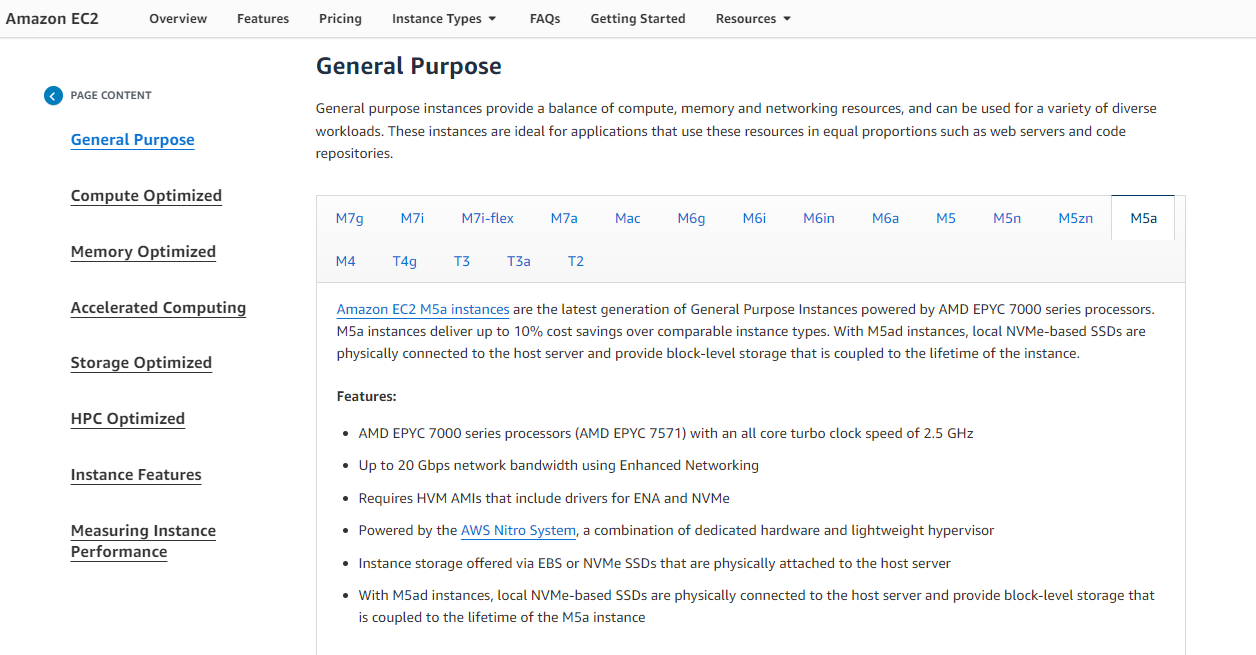
Following that, you will have to select the instance type of the EC2 instance. The instance type is defining your EC2 instance’s hardware specifications. For my purposes, we will be choosing the “M5a” instance type family, powered by AMD EPYC 7571 processors, and selecting the smallest instance size available (namely “m5a.large”, featuring 2 vCPUs and 8 GiB of Memory) for the configuration of the server (we can upgrade it easily later on). You can find more information about the various EC2 instance types here.
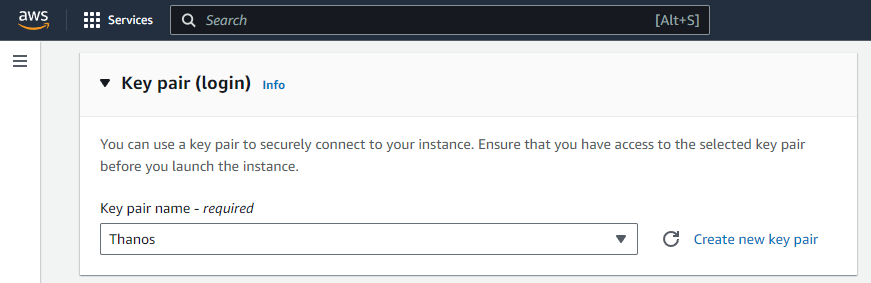
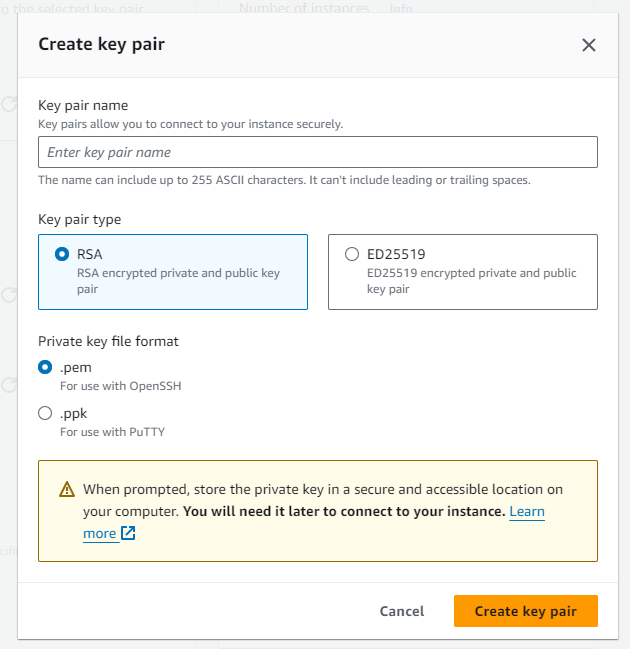
Moving on, you will have to select a Key pair to install on the instance. This will allow you to access the server through SSH easily. If you don’t have one already created, create one and install it on your computer.
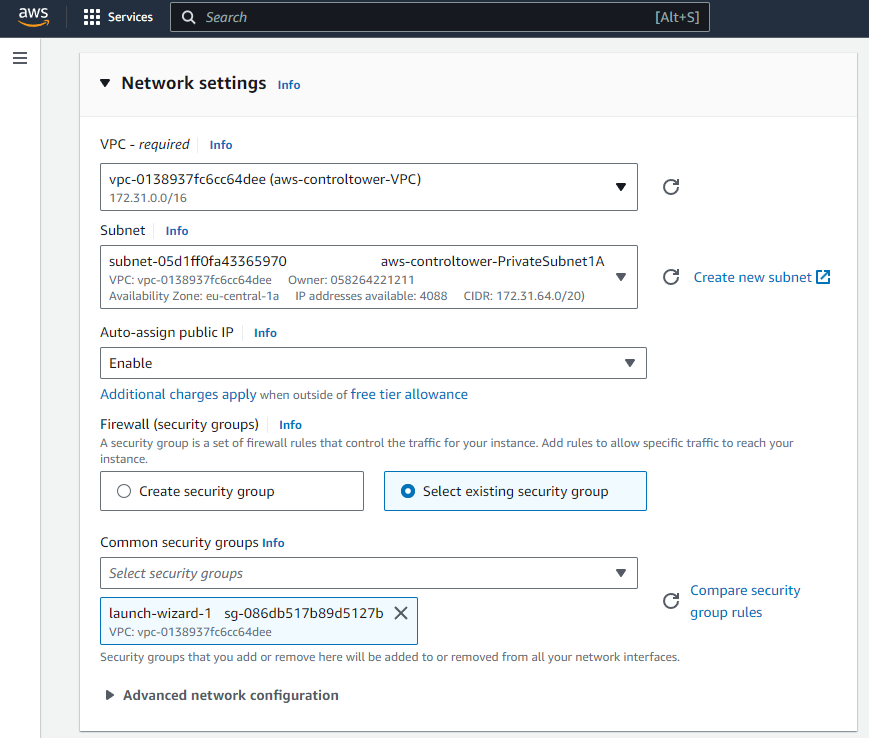
The next crucial step is to configure the network settings of the EC2 instance. Make sure that your instance is connected to the appropriate VPC and that the selected subnet has internet access so that you can expose the instance’s services to the public internet.
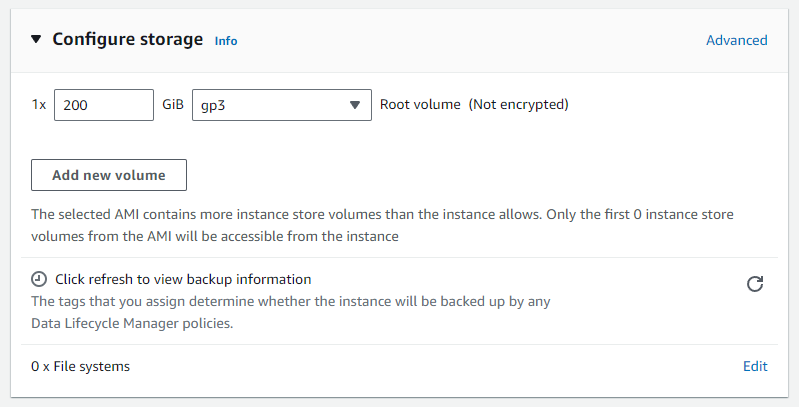
The last step of setting up our new EC2 instance is to configure its storage. For our example, I will be setting it to 200 GiB of storage, but you should be configuring that according to your needs.
Finally… we are done! Time to launch the new EC2 instance…
Installing Docker
Installing Docker on an Ubuntu EC2 instance is relatively trivial, as you just have to follow the official guide. Here are the commands you will need to run (based on the guide of 2023):
sudo apt-get update
sudo apt-get install -y ca-certificates curl
sudo install -m 0755 -d /etc/apt/keyrings
sudo curl -fsSL https://download.docker.com/linux/ubuntu/gpg -o /etc/apt/keyrings/docker.asc
sudo chmod a+r /etc/apt/keyrings/docker.asc
echo \
  "deb [arch=$(dpkg --print-architecture) signed-by=/etc/apt/keyrings/docker.asc] https://download.docker.com/linux/ubuntu \
  $(. /etc/os-release && echo "$VERSION_CODENAME") stable" | \
  sudo tee /etc/apt/sources.list.d/docker.list > /dev/null
sudo apt-get update
sudo apt-get install -y docker-ce docker-ce-cli containerd.io docker-buildx-plugin docker-compose-plugin
Now the docker server should be up and running!
Securing the Docker Server
Unfortunately, by default, the containers will be able to request and retrieve the AWS Metadata information. These may result in the leak of private keys that a malicious container can use to get access to the host server (the AWS EC2 instance running the docker containers).
Fortunately, to achieve that and leak these metadata, the attacker will have to get Remote Code Execution (RCE) on the container or Server Side Request Forgery (SSRF), which may not be trivial depending on the software running on a container. Yet again, in some cases, like in CTF competitions, it is usually expected that the user will get such access to the container, thus making by default the whole server vulnerable.
To fix this issue, the only thing we can do is configure the AWS Metadata to accept requests from the host machine and not from the containers inside it. To do so, we can filter the requests based on their hops, limiting the accepted hop value to 1. You can set this option on your instance by running the following command (replace %your_instance_id% with your instance ID) :
aws ec2 modify-instance-metadata-options --instance-id %your_instance_id% --http-put-response-hop-limit 1Please note that this may not work if the containers are not running in the default bridge network mode!