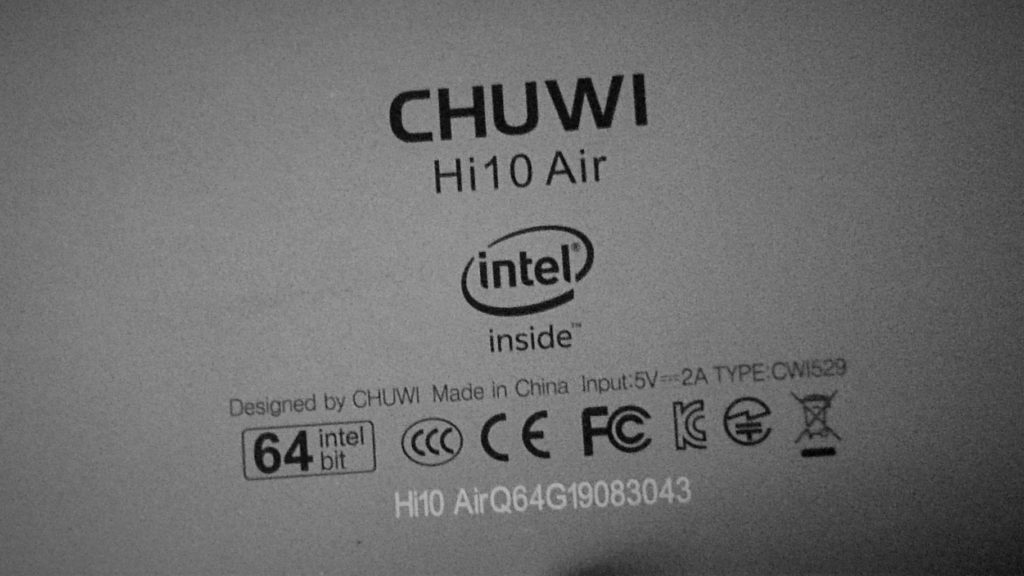
Back in 2019, I bought a cheap Windows 10 tablet, the Chuwi Hi10 Air. Although Windows in tablet mode offers a very nice touchscreen experience, the low specification of the Hi10 Air makes it quite slow by today’s standards. For this reason, I started searching for alternative operating systems to improve the performance. After successfully testing several Linux versions, I found a guide about installing Android and I thought to give it a go, thus I got the suggested bios file and flashed it on my Chuwi, and then… nothing…
I searched on the Chuwi forum and found a little information on what to use to flash new bios to unbrick my device. Since the bios chip was on the motherboard, I planned to use the CAMP bios flash method. The first thing to do was to buy a USB programmer for the bios chip. I found an “EEPROM BIOS USB Programmer CH341A + SOIC8 Clip + 1.8V Adapter + SOIC8 Adapter Kit” on eBay for $12 with free shipping which seemed exactly what I needed. I bought one and waited for it to arrive. Additionally, I found the appropriate Chuwi Hi10 Air BIOS for my model number (found at the back of the device) at the Chuwi forum and saved it.
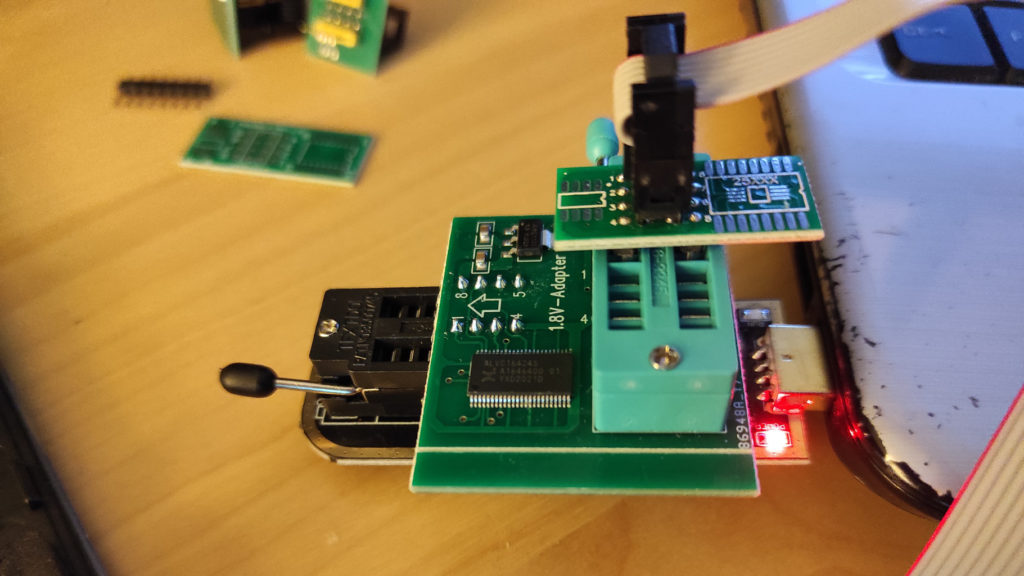
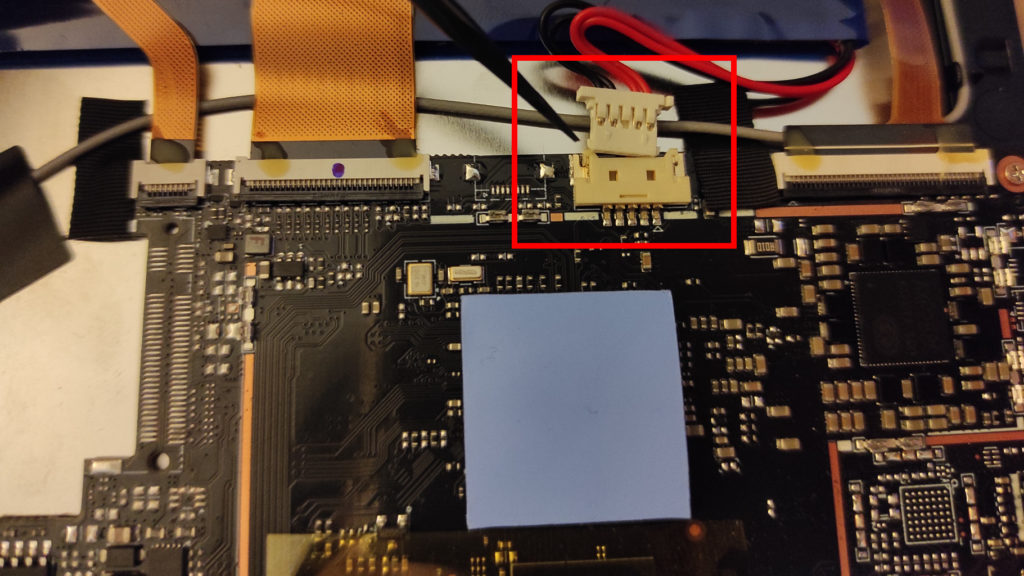
The CH341A programmer with the needed adapters is attached.
A few months later (it takes 1-2 months for me to get my orders from China) I received the programmer, I assembled it based on some images I found on a Chuwi flash guide and I was ready. Since the proposed guides used some questionable untrusted signed programs on Windows, I thought to give myself a break and just use Linux instead. I booted by Ubuntu and installed `flashrom`:
sudo apt install flashromBased on the guide I saw the BIOS flashing steps were simple:
- Buy an appropriate chip programmer
- Download the appropriate BIOS file
- Disassemble the tablet (be careful not to break the screen)
- Unplug the battery from the motherboard
- Clamp programmer on the BIOS chip
- Program the BIOS chip
- Detach the programmer & connect the battery cable back to the motherboard
- (optionally) Try to power on the tablet and see if it boots up
- Assemble the tablet
- Install the OS of your preference
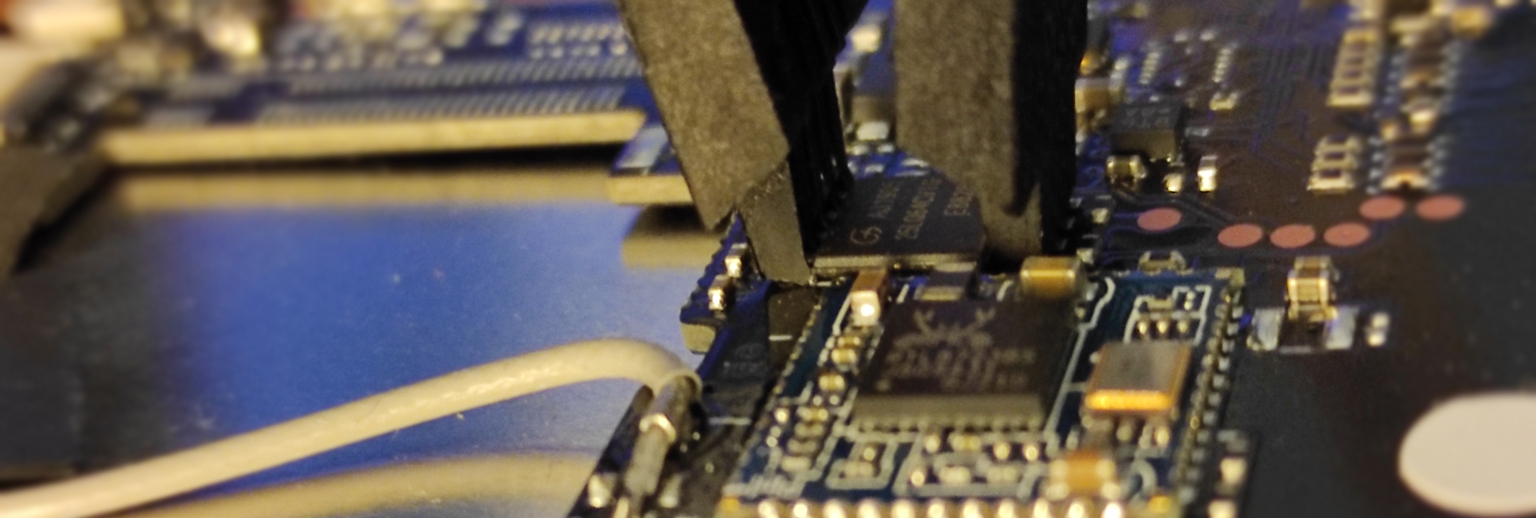
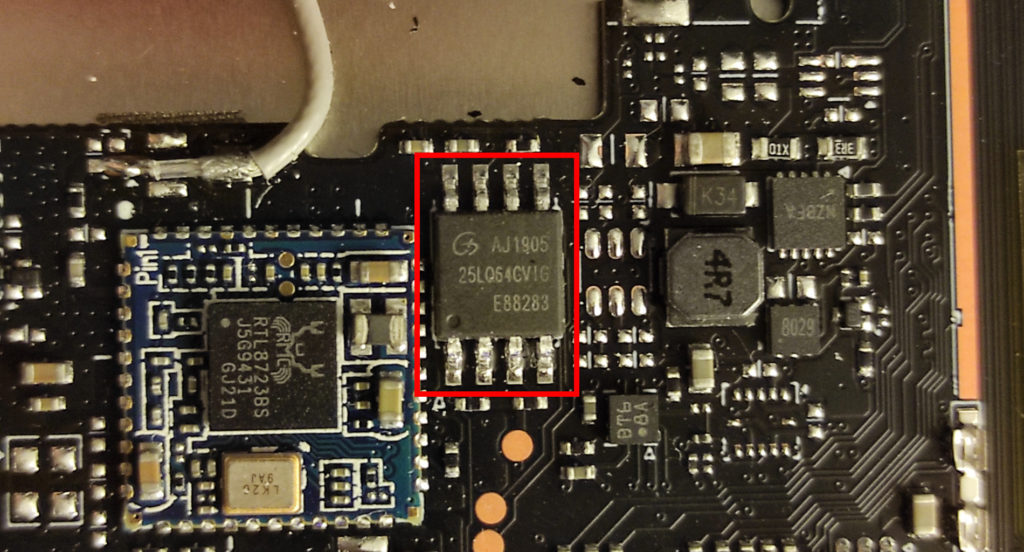
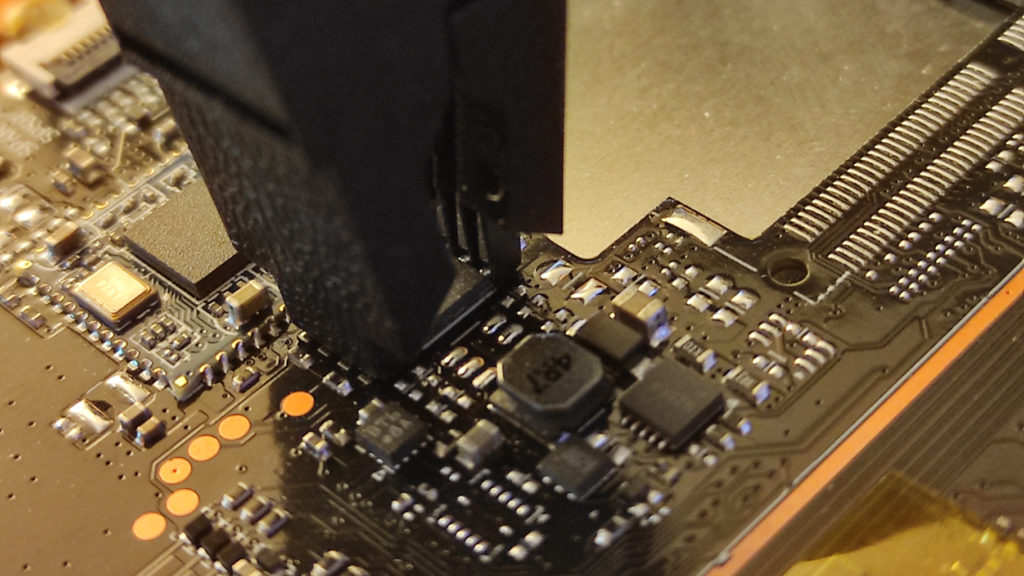
I disassembled the tablet and unplugged the battery cable. Now it was time to connect the programmer on the chip. Be sure to clamp it correctly, it may take some tries.
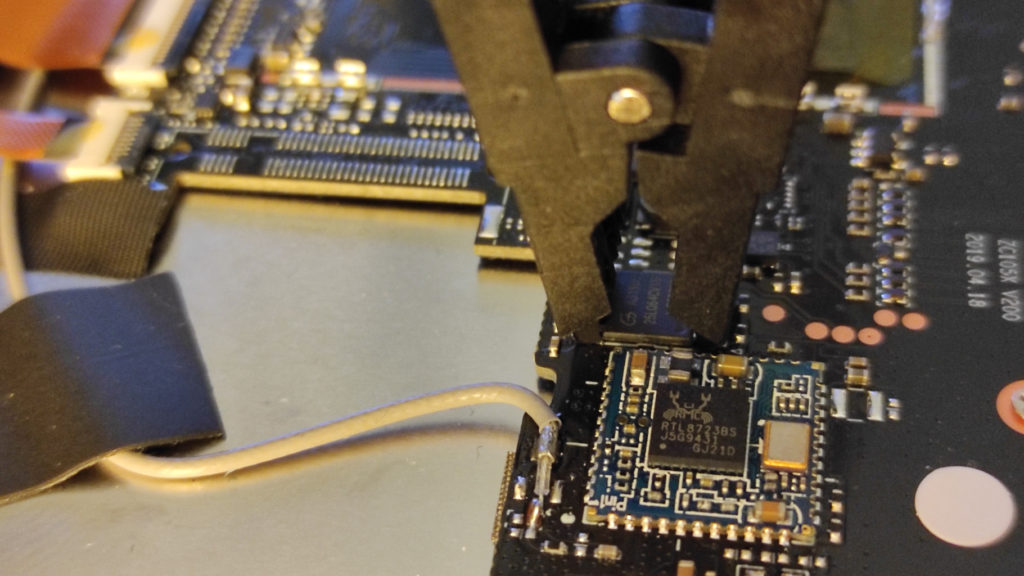
The CH341A programmer attached to the Chuwi’s BIOS chip.
To be sure that the clamp is attached correctly, first try to read the BIOS already flashed on the chip. Here is an example of an incorrect connection that is not able to read from the chip:
bannana@thanos:~/$ sudo flashrom --programmer ch341a_spi
flashrom v0.9.9-r1954 on Linux 4.15.0-130-generic (x86_64)
flashrom is free software, get the source code at https://flashrom.org
Calibrating delay loop… OK.
No EEPROM/flash device found.
Note: flashrom can never write if the flash chip isn't found automatically.
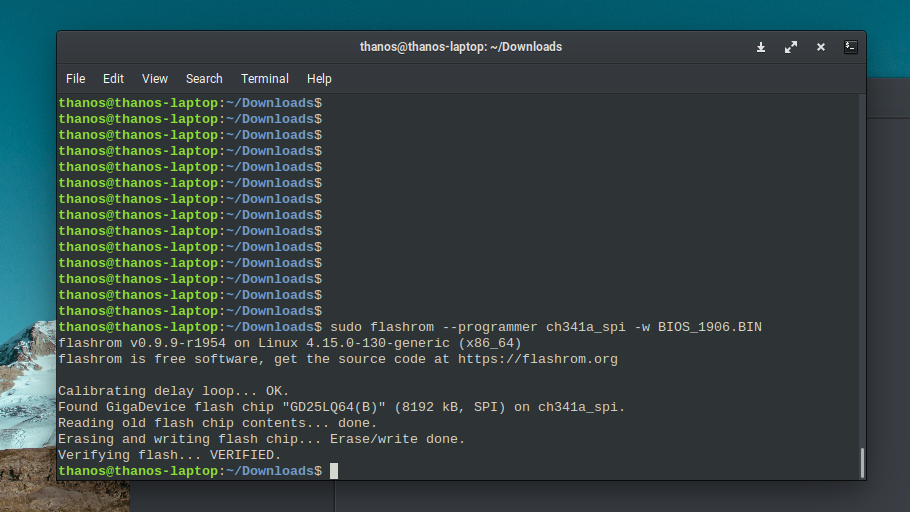
bannana@thanos:~/$Clamp correctly the programmer and try again. After a successful connection, it’s time to flash the correct BIOS for my device that I got from an official source on the forum. My BIOS file was `BIOS_1906.BIN`, thus I called once again the `flashrom` with the BIOS file to flash:
bannana@thanos:~/$ sudo flashrom --programmer ch341a_spi -w BIOS_1906.BIN
flashrom v0.9.9-r1954 on Linux 4.15.0-130-generic (x86_64)
flashrom is free software, get the source code at https://flashrom.org

Calibrating delay loop... OK.
Found GigaDevice flash chip "GD25LQ64(B)" (8192 kB, SPI) on ch341a_spi.
Reading old flash chip contents... done.
Erasing and writing flash chip... Erase/write done.
Verifying flash... VERIFIED.
bannana@thanos:~/$
Success! Now my stupidly slow tablet boots!
Please be careful when closing the tablet. If during the disassembly one of the magnets is unseated, be sure to place them with the correct polarity (to match the polarity of the magnetic keyboard). Additionally, do not forget to place the power and volume buttons at their respective place.
flashrom for the win!Conclusion
Flashing the bios on the Chuwi was relatively easy assuming that you have the correct tools. Acquiring the appropriate tools and software though, requires research and thus time.