A Synology NAS can be used as a home VPN server. It is easy to use and set up, making it ideal. But… since the certificates expire every year, you have to regenerate OVPN config files for your clients.
Let’s change that by generating a custom, self-signed certificate and using it for our Synology services.
Generating a self-signed certificate
Let’s first generate the intermediate certificate:
openssl req -x509 -newkey rsa:4096 -nodes -days 36500 -keyout intermediate.key -out intermediate.crt -subj "/C=GR/ST=Attica/L=Athens/O=None/OU=None/CN=Custom"Now let’s generate the normal certificate:
openssl req -newkey rsa:2048 -nodes -keyout nas.key -out nas.csr -subj "/C=GR/ST=Attica/L=Athens/O=None/OU=None/CN=synology" && \
openssl x509 -req -in nas.csr -CA intermediate.crt -CAkey intermediate.key -CAcreateserial -out nas.crt -days 36500 -sha256 -extfile <(echo "subjectAltName=DNS:synology")
Finally, let’s update the certificate to include the intermediate certificate inside:
cat nas.crt intermediate.crt > chain.crtImport and Configure the certificate
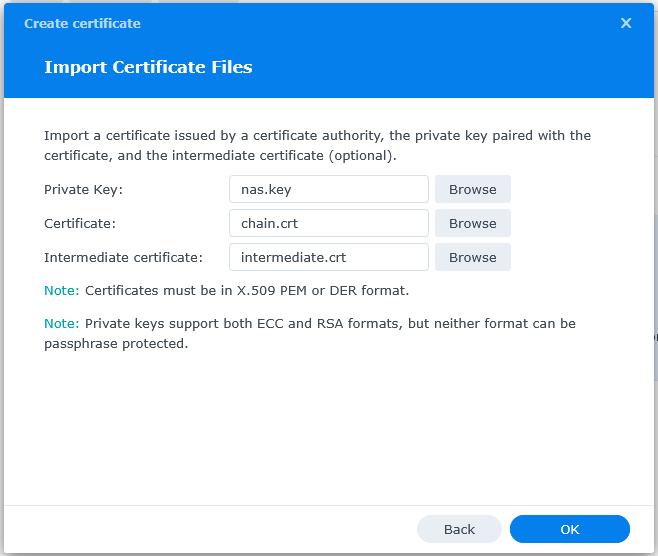
Head to your Synology “Control Panel” > “Security” and select the “Certificate” tab, then click the “Add” button. Follow the instructions and upload the nas.key as a Private Key, the chain.crt as Certificate and the intermediate.crt as Intermediate certificate.
After importing the certificate, click the “Settings” button and enable it for the services for which you want it to be used (e.g., FTPS, Synology Drive Server, Synology Storage Control Server, and VPN Server).
Conclusion
Now (hopefully) we will not need to update our configurations every year… let’s see…