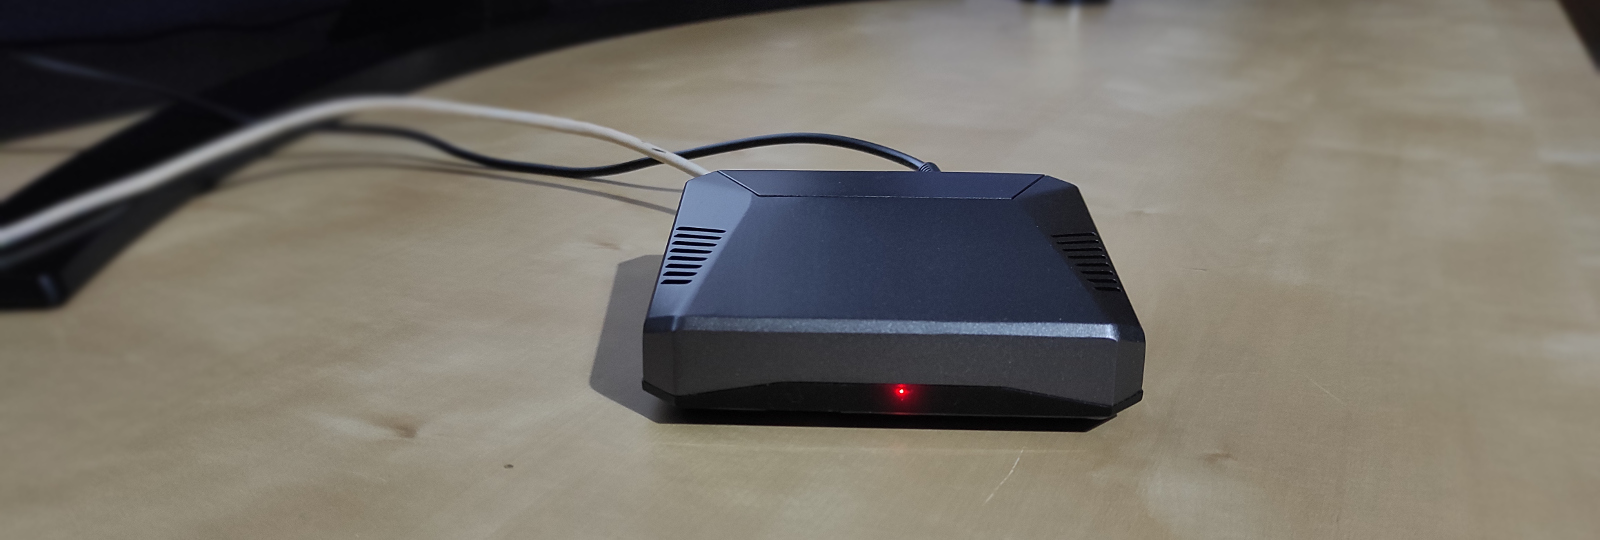
Raspberry Pi 4 is awesome for setting up personal projects and experimenting with various Linux distros! I have been hosting my personal Linux servers on Raspberry Pies for years and I always faced the same problem… corrupted filesystem on SD cards. To minimize the problem, I have been experimenting with USP boards to fight sudden power losses though, from time to time I had to repair the filesystem or reflash my SD cards.
To improve stability and eliminate the problem, it is now easier than ever to configure your Raspberry Pi 4 to boot from a USB. For this reason, in this article, we will go through the steps of configuring and botting our RPi4 from a USB 3.0 SSD.
Steps & Hardware
Before we start, let’s gather the appropriate hardware needed:
- 1x Raspberry Pi 4 (duh…)
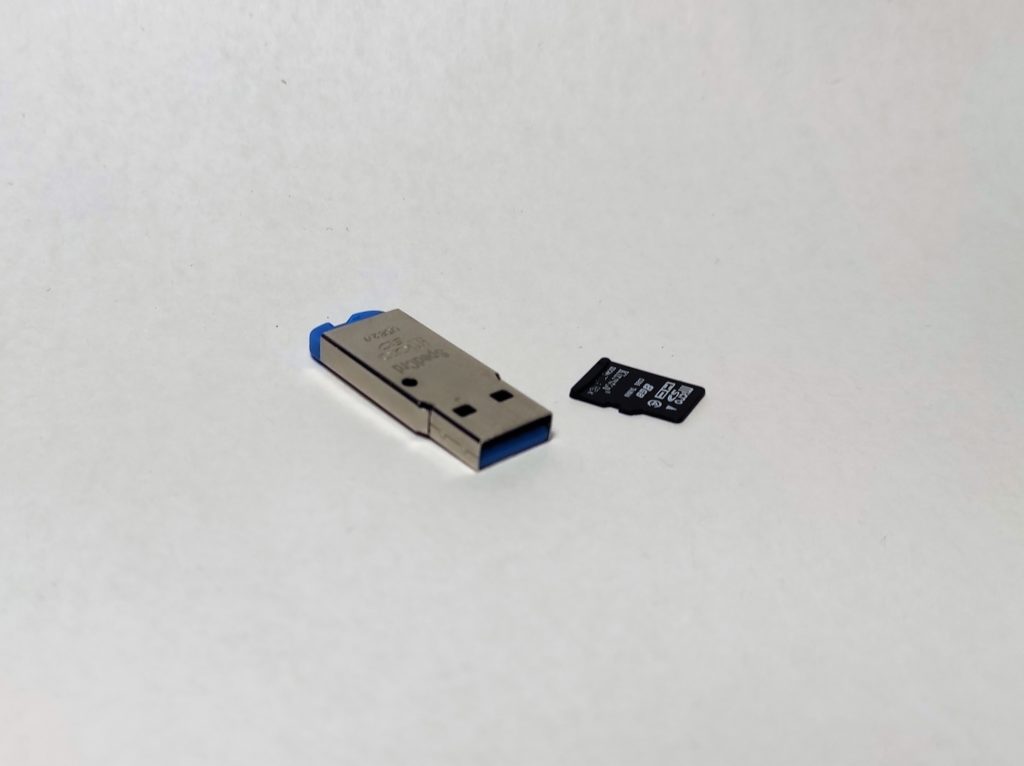
- 1x SD Card to USB Adapter
- 1x SD Card
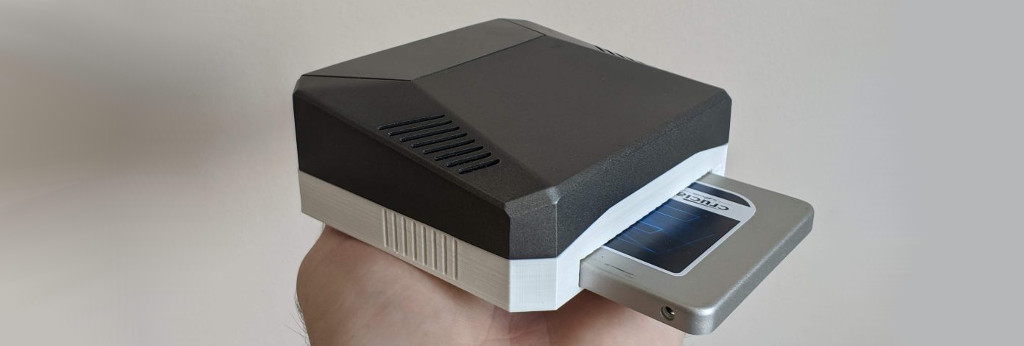
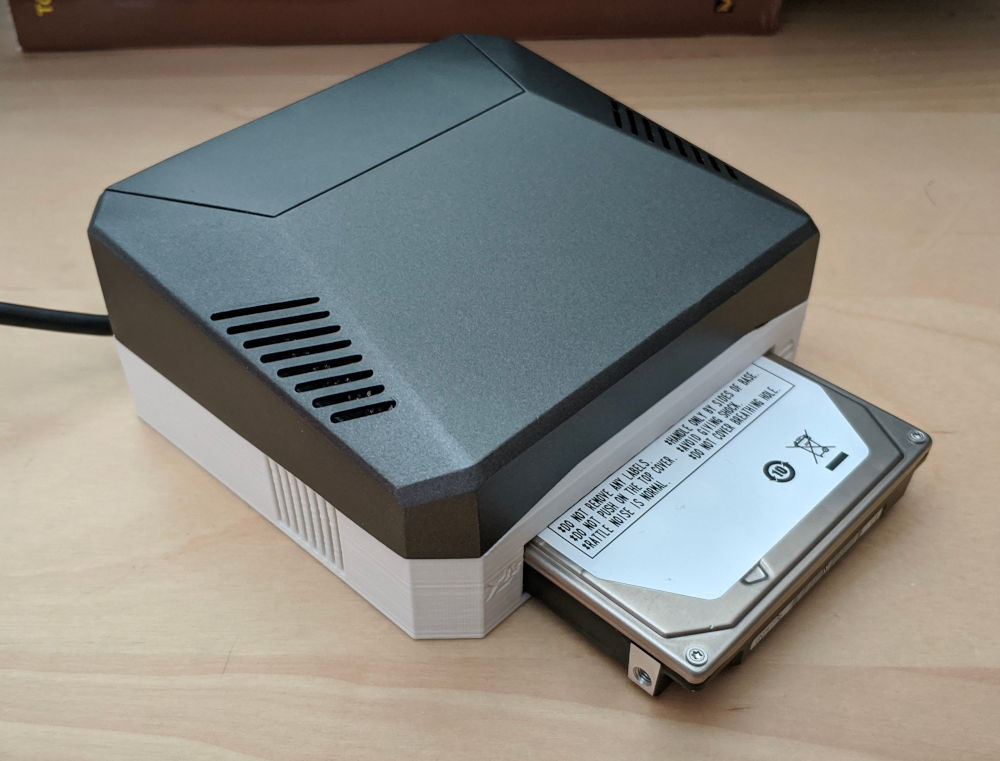
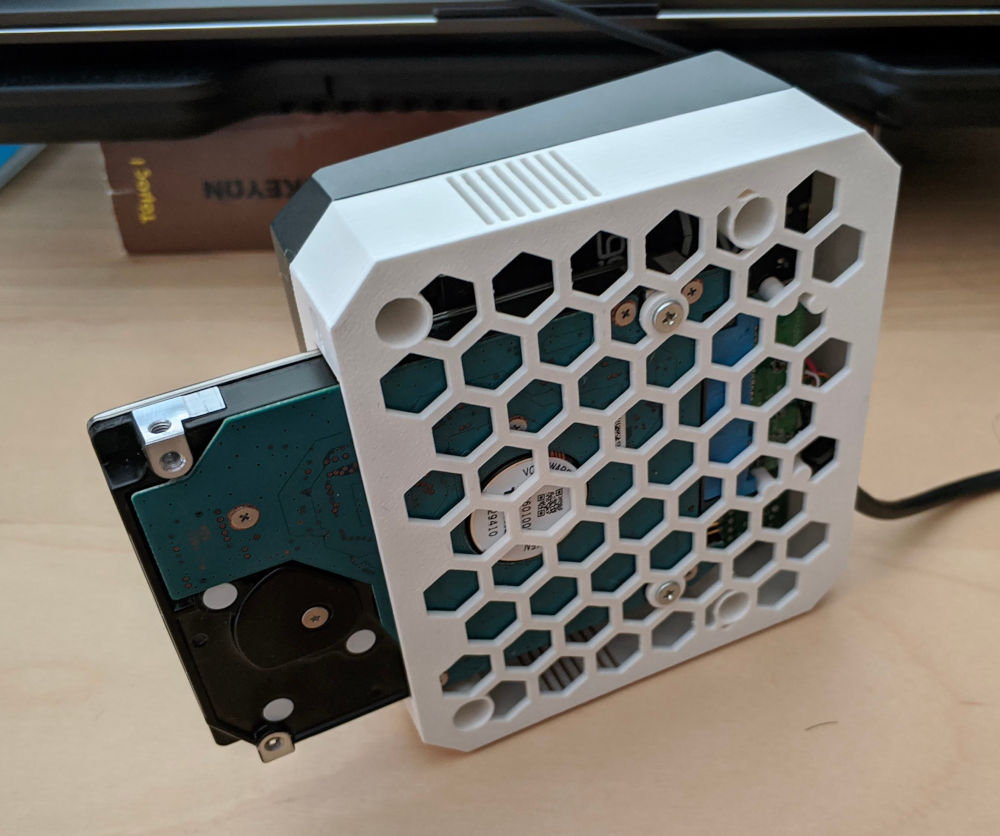
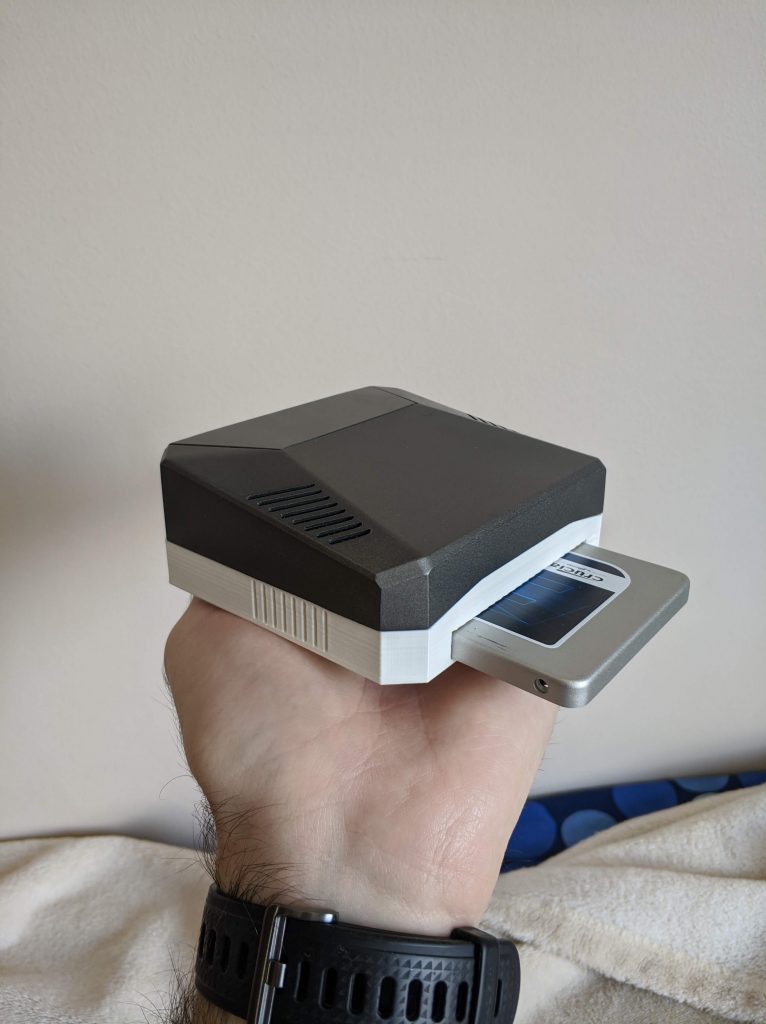
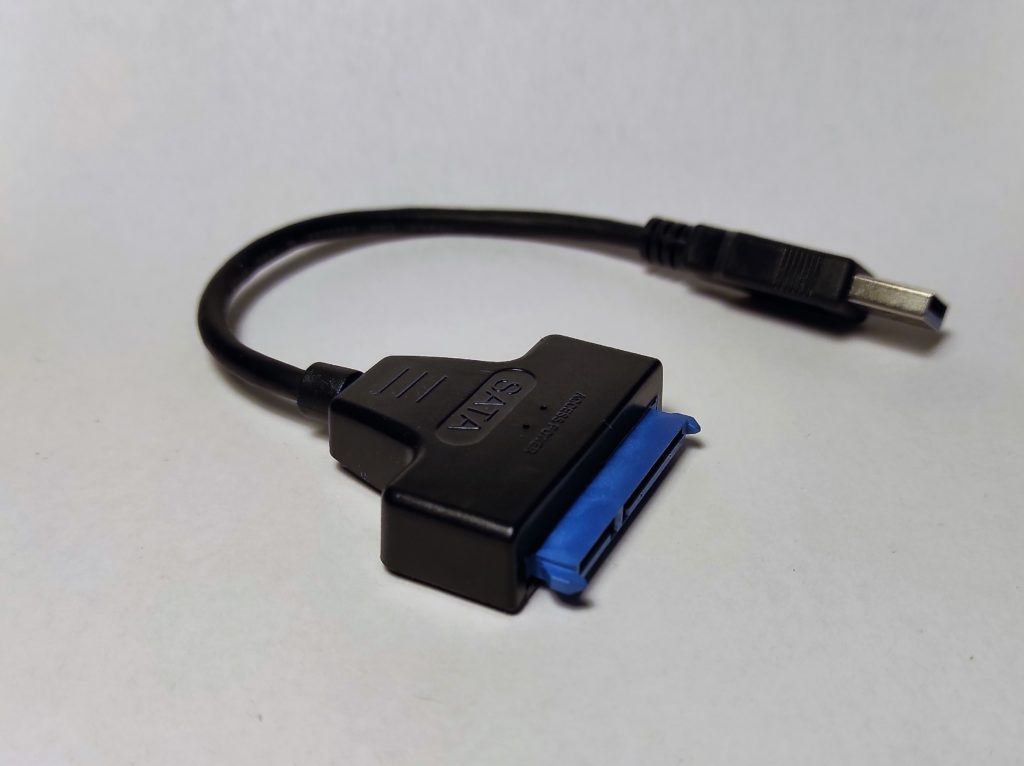
- 1x SATA to USB 3.0 Adapter
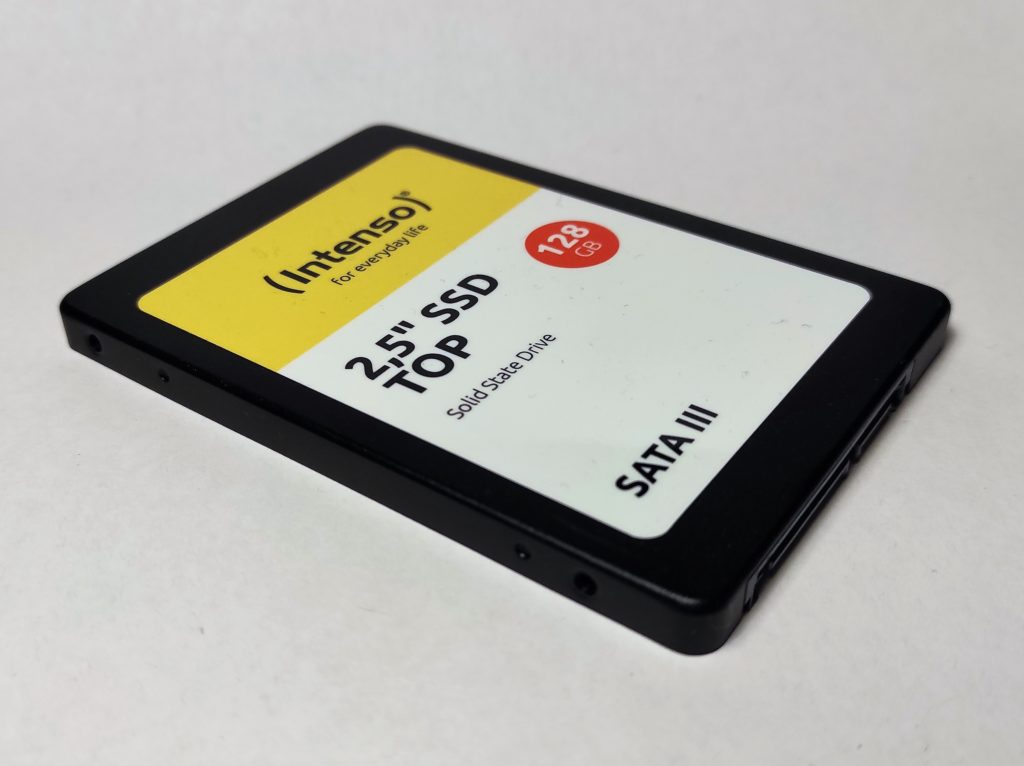
- 1x SSD
There are the steps that we will take:
- Update Raspberry’s bootloader
- Burn Image on SSD
- First boot through USB 2.0
- Solving USB 3.0 problems (optional)
- Increase swap file
Update Bootloader
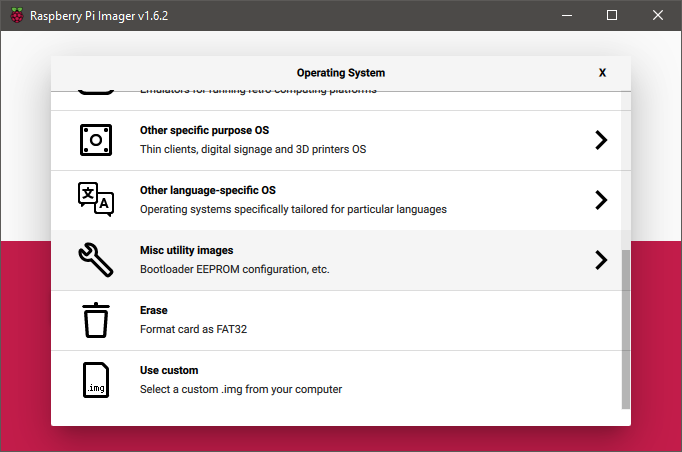
In order to easily update the bootloader of our Raspberry Pi 4, we will use the Raspberry Pi Imager. Download and install from the official Raspberry Pi site if you don’t have it already. Launch it and for the Operating System select:
CHOOSE OS > Misc utility images > Bootloader > USB Boot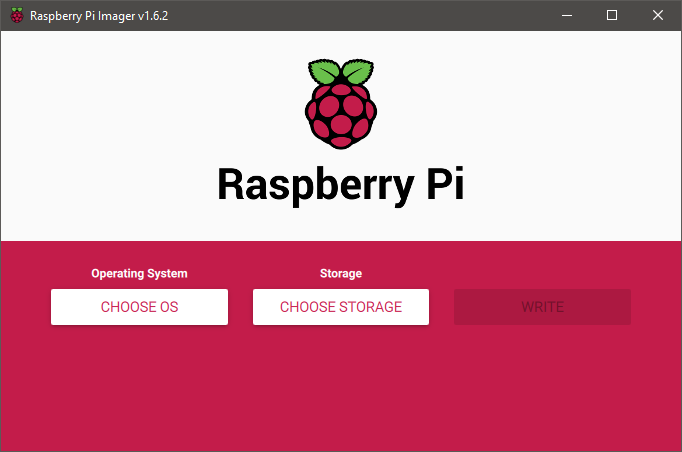

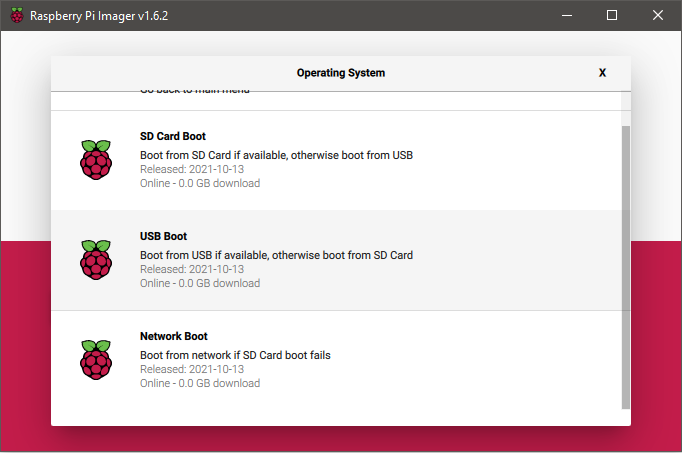
Then insert the SD card into the SD card adapter and plug it into your PC. Select it under the “CHOOSE STORAGE” button and click write to flash it.
After the flashing completes, insert the SD card into your Raspberry, connect it optionally to a display, and power it up. Wait for it to update the bootloader and then turn it off and remove the SD card (we will not use it anymore).
Burn the Image on SSD & boot
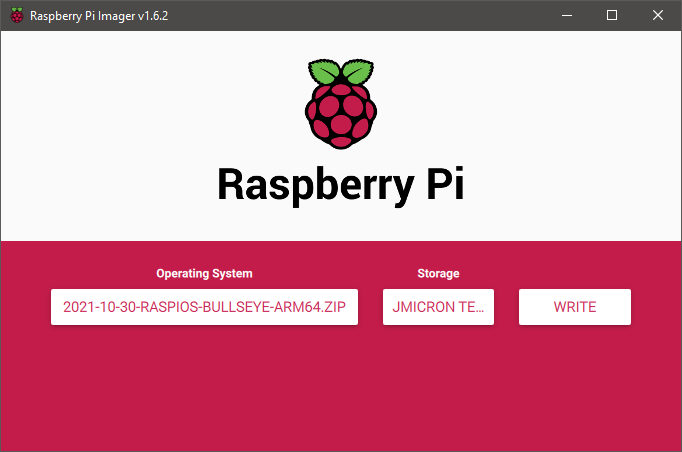
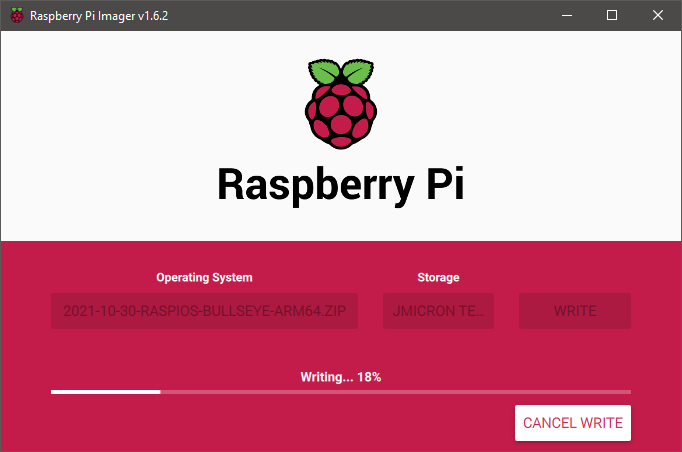
Connect your SSD on your PC using the SATA to USB 3.0 adapter and using Raspberry Pi Imager, flash your operating system of choice.
After the write competes, if you are planning to run your RPi headless, don’t forget to create the appropriate wpa_supplicant.conf and ssh files inside the boot partition of the SSD.
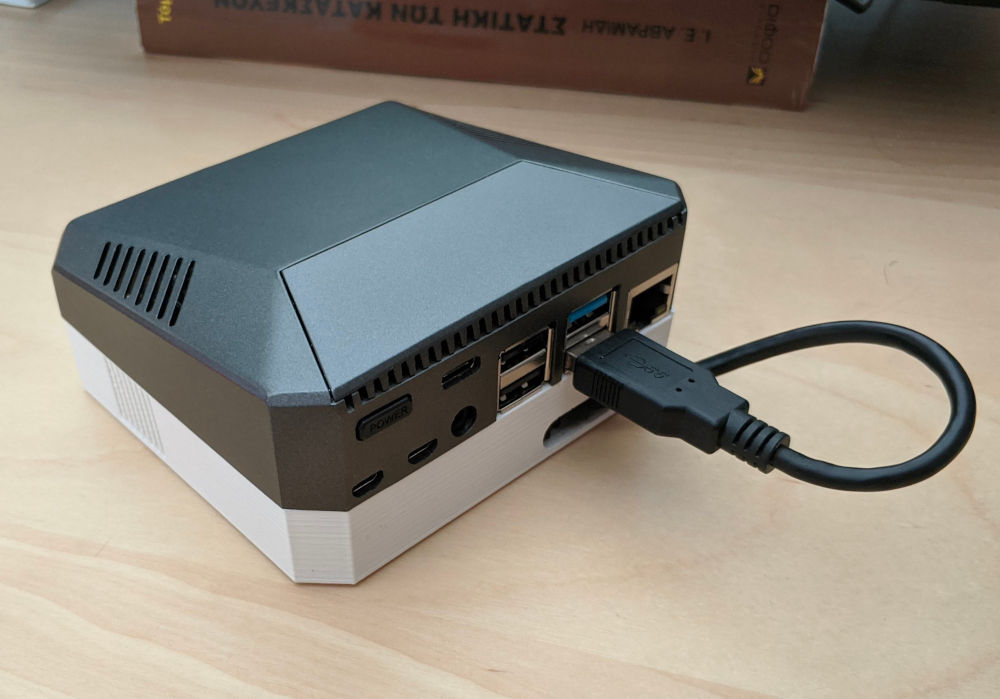
Now you can unplug the SSD from your PC and plug it on one of your Raspberry Pi’s USB 2.0 ports. DO NOT PLUG IT ON THE USB 3.0 FOR THE FIRST BOOT. First, we will have to make sure the SSD is working as intended through the USB 2.0 port and then try booting it using the USB 3.0 port. If you get errors when using USB 3.0, check the next section on how to solve them.
Solving USB 3.0 problems
Some SATA to USB 3.0 adapters are using chips that may not support a USB 3.0 feature called “UAS” and this may result in slow transfer speeds and boot errors. You may check your adapter’s USB vendor ID and try to search online whether it supports UAS or not. After booting your SSD from USB 2.0, run lsusb to get your adapter’s USB ID. Here is an example:
pi@dinodevs:~ $ lsusb
Bus 002 Device 001: ID 1d6b:0003 Linux Foundation 3.0 root hub
Bus 001 Device 003: ID 152d:0555 JMicron Technology Corp. / JMicron USA Technology Corp. JMS578 SATA 6Gb/s
Bus 001 Device 002: ID 2109:1234 VIA Labs, Inc. Hub
Bus 001 Device 001: ID 1d6b:0002 Linux Foundation 2.0 root hub
If you want to do the same process offline on Windows, you can use the following Powershell command to recover the USB ID:
PS C:\Users\thanos>:~ $ Get-PnpDevice -PresentOnly | Where-Object { $_.InstanceId -match '^USB' } | Where-Object { $_.FriendlyName -match 'Storage' } | Format-List
...
DeviceID                    : USB\VID_152D&PID_0555\MSFT303812430D532111010
...
In my case, my JMicron adapter (with id 152d:0555) was not supporting UAS, thus I had to disable it so that I could get my SSD working through USB 3.0. To do so, I had to edit the boot parameters by running:
pi@dinodevs:~ $ sudo nano /boot/cmdline.txtand editing the contents by prepending the usb-storage.quirks option listing the USB ID of our adapter. And here are the updated `cmdline.txt` contents:
usb-storage.quirks=152d:0555:u console=serial0,115200 console=tty1 root=PARTUUID=7535aa3a-02 rootfstype=ext4 fsck.repair=yes rootwaitNow, let’s sudo shutdown -h now , change the SSD from USB 2.0 to USB 3.0, and check power on the Raspberry Pi again.
You can find more info on the SATA adapter problem at the following resources:
- USB 3.0 adapter problem guide on Raspberry Pi forums https://forums.raspberrypi.com/viewtopic.php?t=245931
- USB 3.0 adapter issue on GitHub https://github.com/raspberrypi/linux/issues/3070
Increase Raspberry’s swap file
Depending on the RPi version that you have, you may want to increase its swap file so that more (but slower) RAM is available to you.
First let’s stop the swap file usage temporarily by running:
pi@dinodevs:~ $ sudo dphys-swapfile swapoffThen let’s edit its configuration and change its size from 100MB to 1024MB. Open the configuration in node:
pi@dinodevs:~ $ sudo nano /etc/dphys-swapfileand change the CONF_SWAPSIZE=100 to CONF_SWAPSIZE=1024. You can then exit by pressing CTRL+x and accepting to save your changes by pressing y followed by ENTER.
Now you will have to recreate the swap file using:
pi@dinodevs:~ $ sudo dphys-swapfile setupLastly, re-enable the swap file usage and optionally reboot:
pi@dinodevs:~ $ sudo dphys-swapfile swapon
pi@dinodevs:~ $ sudo reboot
Conclusions
Booting a Raspberry Pi 4 from an SSD is now easier than ever. It improves your system’s stability and increases your Raspberry’s capabilities. One thing you should consider is to keep a backup of your important files so that extracting them from a corrupted SSD may be challenging.