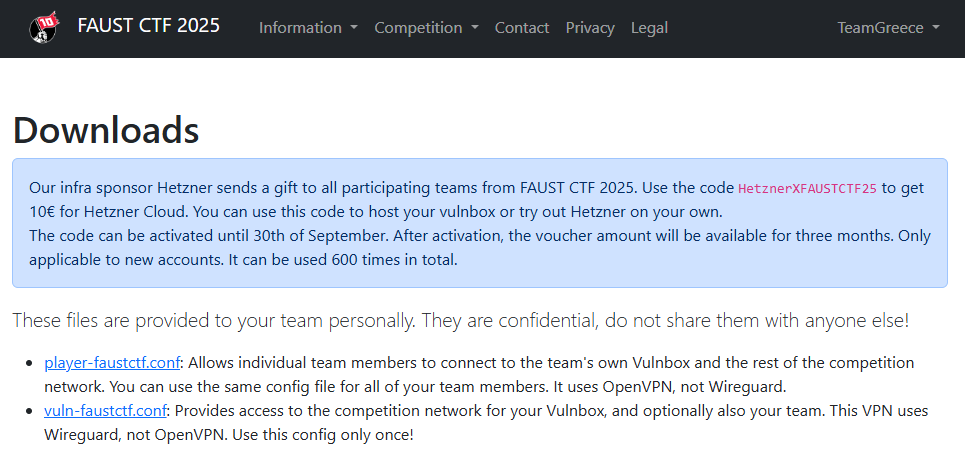
Hetzner sponsored the infrastructure of FaustCTF 2025 and also provided a 10€ coupon for every team that wanted to host their vulnbox on their infrastructure for free.
In this article we will go through the steps to deploy the vulnbox provided by the FaustCTF organizers on a Hetzner server. You can create your Hetzner using our referral link.
Introduction
The FaustCTF is an Attack/Defense competition organized yearly. In order to participate in the competition, the registered teams have to self host the vulnbox (a VM with the competition’s services) given by the organizers.
The organizers offer the vulnbox in two formats:
- an OVA container – a format commonly used with virtualization software like Virtual Box
- a QCOW2 image – a QEMU formal compatible with multiple hypervisors and some cloud providers
Unfortunately, Hetzner doesn’t directly support either of these formats, but their rescue mode can be utilized to prepare the server. Since this approach was not clearly documented on the internet, we will go through it step by step.
Create Account and Redeem Code
We will create a new Hetzner account to be used for our this team and use the code provided by the FaustCTF organizers. If you wish, you can create your account following our referral link.
After creating your account, to redeem the code, head to the Console, click “Usage” on the navigation bar and click the “Redeem Code”. A pop up will appear to insert the code.
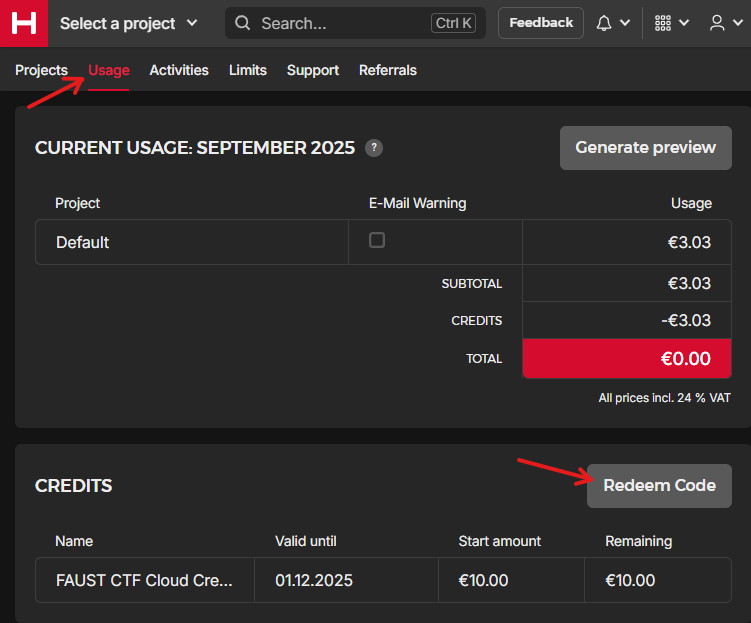
In our case, using the code provided by the FaustCTF organizer we got 10€ of credits, enough to host our vulnbox for the 8 hours of the competition.
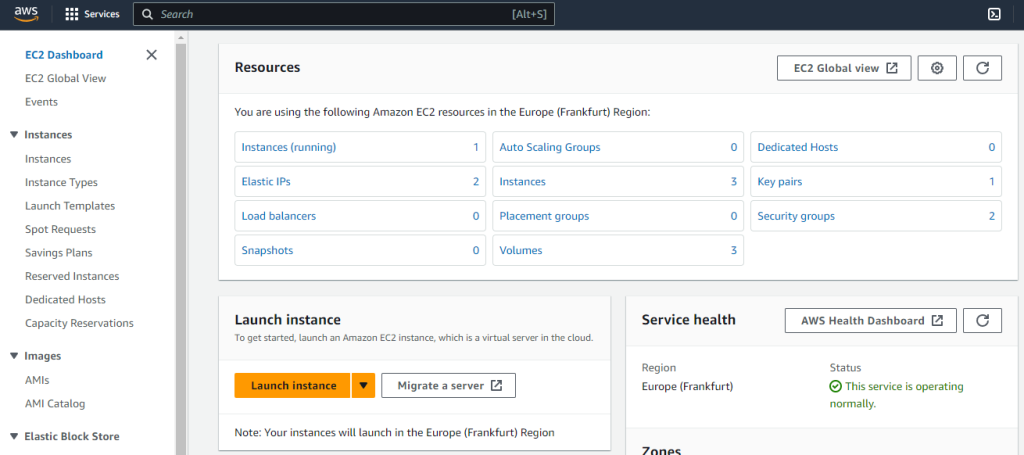
Starting a server
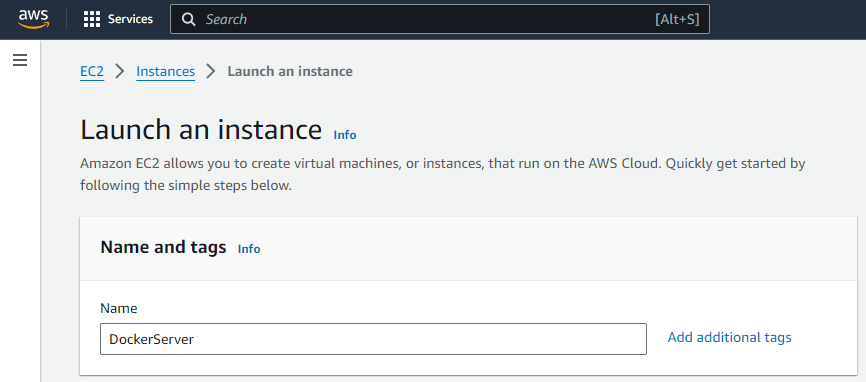
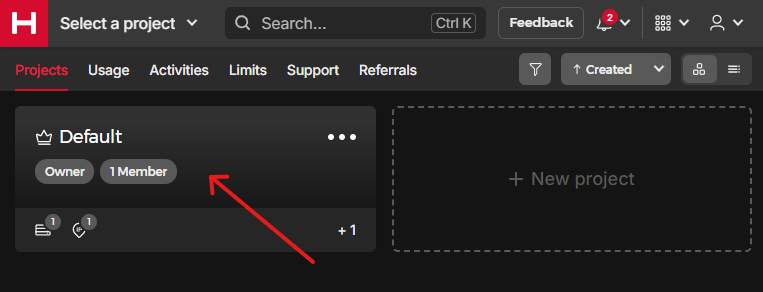
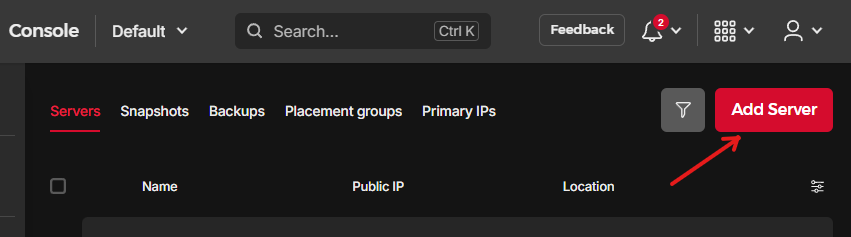
To start preparing our server, we will set up a simple Ubuntu VPS to use it as a base and then convert it to the vulnbox. To do so, while on Hetzner Console, go to “Projects”, select the “Default” project, and under the “Servers” click “Add Server”.
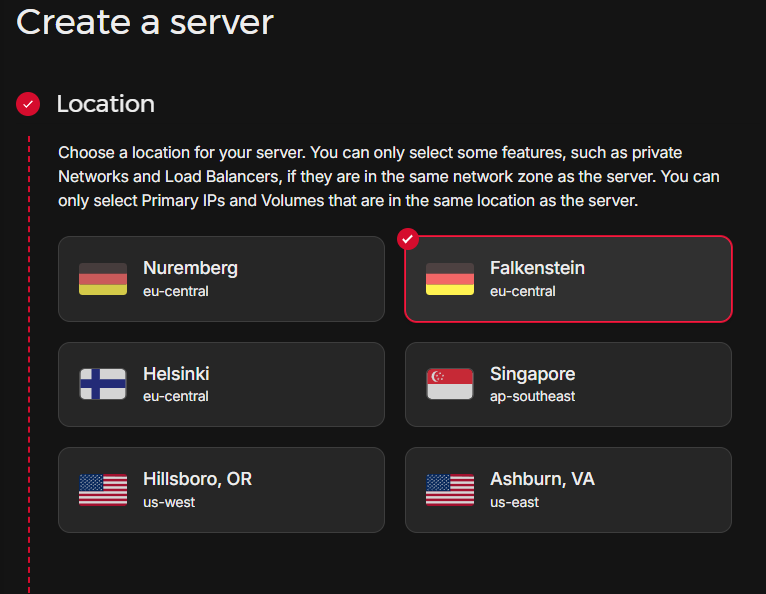
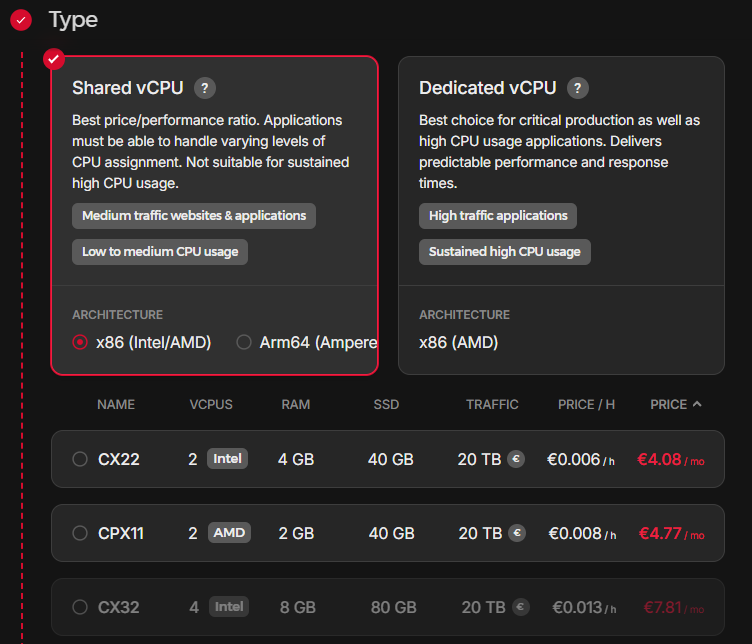
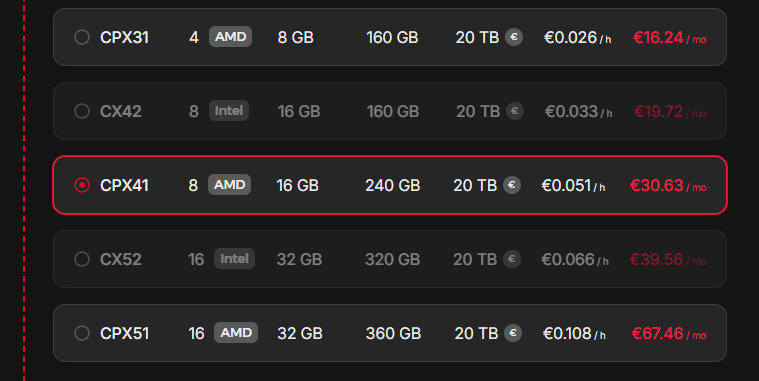
For the new server, select the “Location” of your preference (e.g. Falkenstein at eu-central), select Ubuntu as “Image”, for “Type” select the “Shared vCPU” option with the “x86 (Intel/AMD)” variant in combination with “CPX41” (8 vCPUs, 16GB RAM, 240GB SSD, but you can scale this later), and apart from the “Name” that you can change, leave the rest to default. (Note that the RAM selected on this step should be enough so that we can download the vulnbox on the RAM disk later on through the rescue mode).

After creating the server, click on it to visit its management panel.
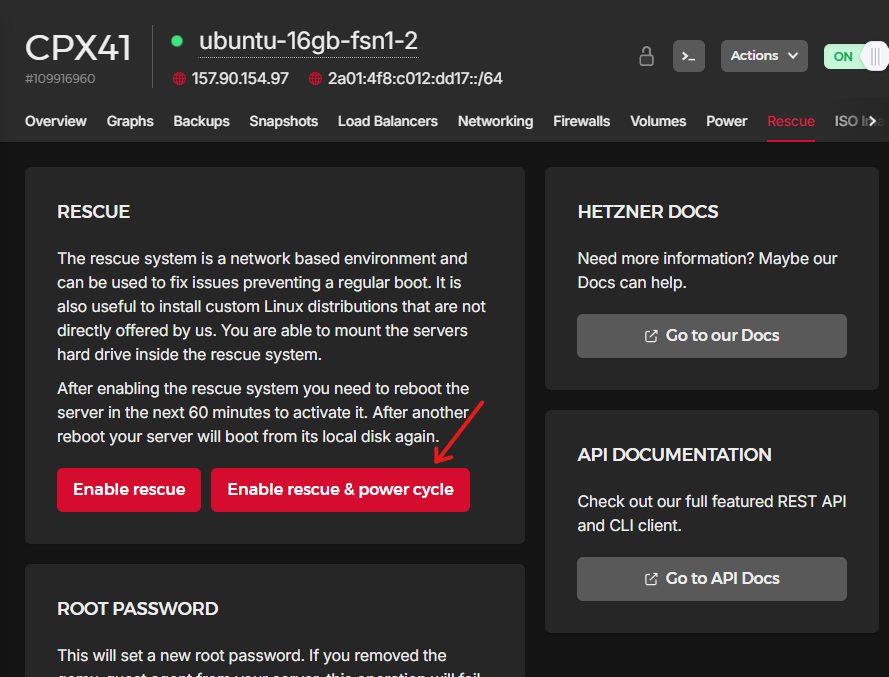
Operating in the Rescue Mode
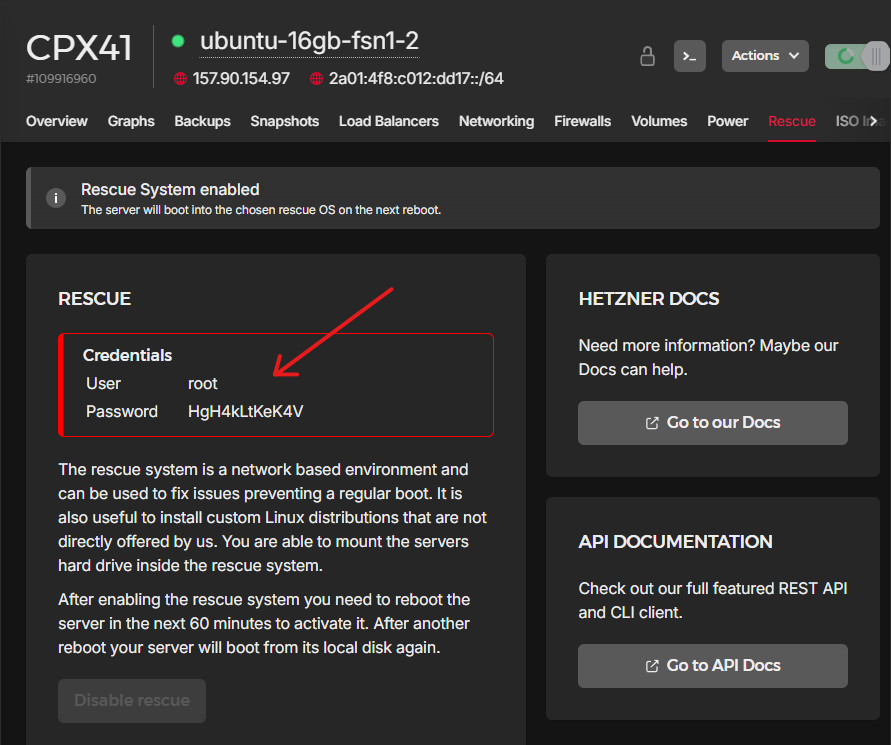
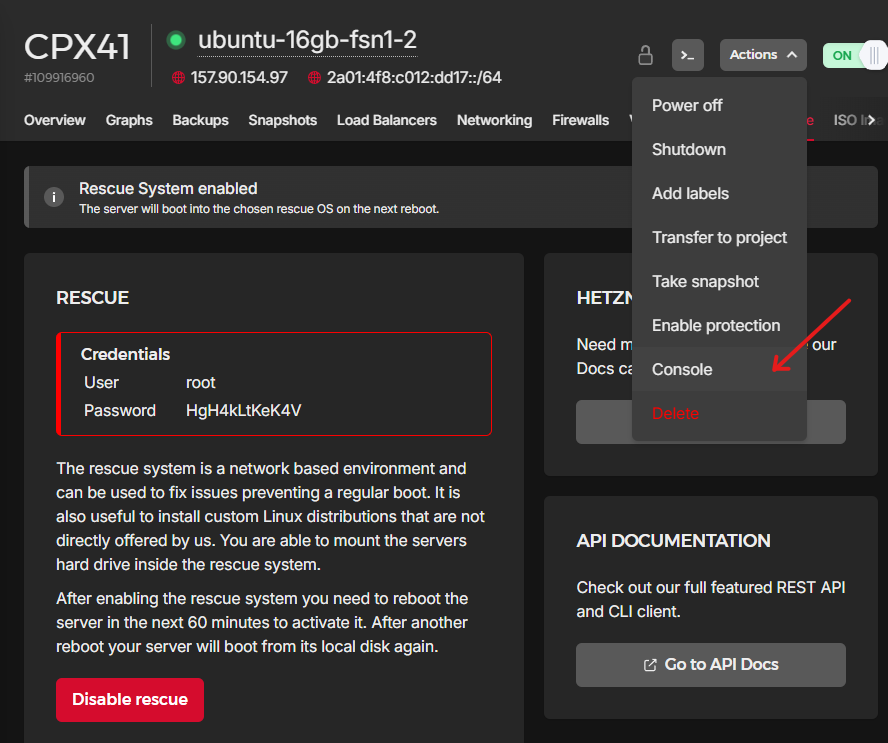
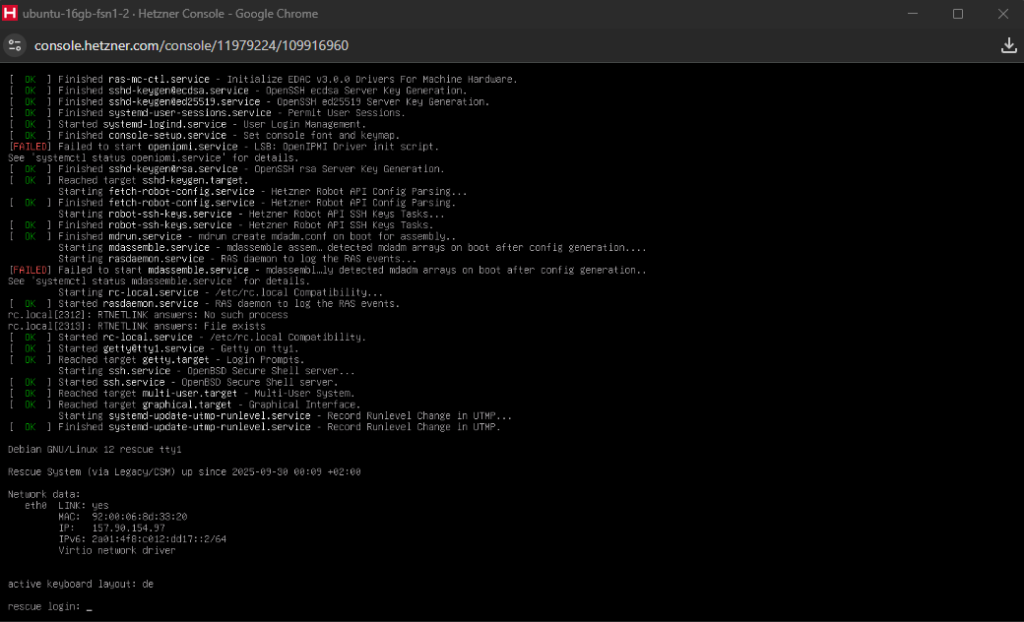
Lets continue by enabling the rescue mode on the server we prepared. You can do that by visiting the “Rescue” tab and clicking “Enable rescue & power cycle” (if requested for a public key, ignore it and continue). If enabled, you will see a some new credentials on the screen, copy them as we will use them in a bit (you will lose them if you refresh the page). Then open the “Console” through the “Actions” dropdown on the top right of the page. A new pop up console will appear and you will be able to use the credentials given to login.
root and the password given.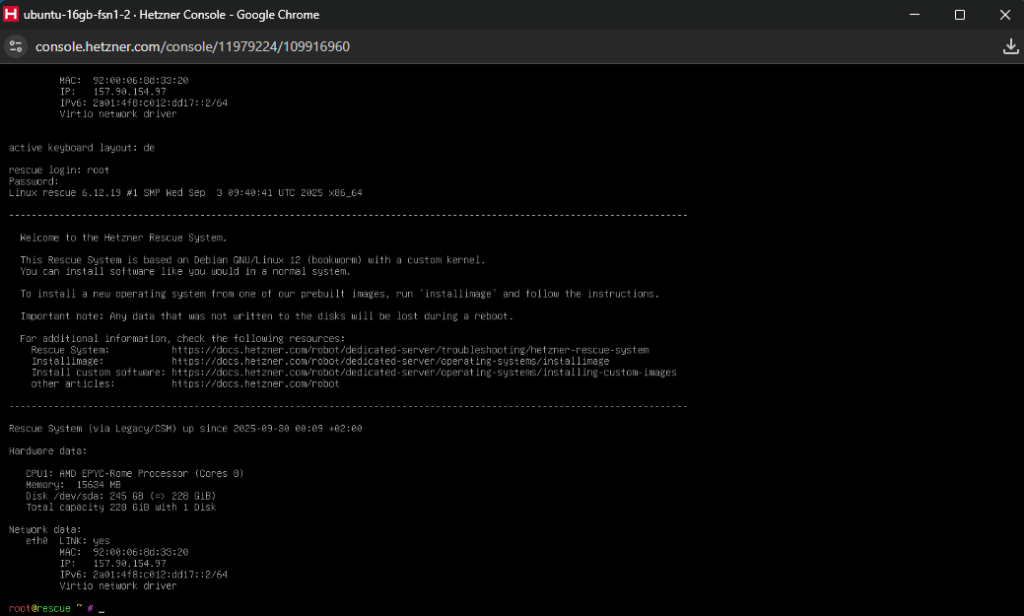
The first problem one may face when using the rescue mode is that the keyboard has a German layout (e.g. typing “z” may be interpreted as “y”), causing problems when copy pasting commands. So lets change that by changing the keyboard layout/language.
We will start by running dpkg-reconfigure keyboard-configuration which you can paste as dpkg/reconfigure kezboard/configuration so that it can be translated to the correct command using the German keyboard. On the configuration menu, select the Generic 104-key PC keyboard and then for language select other > English (US) > English (US), you can leave the rest as is. As soon as the configuration is done, execute setupcon and the keyboard will now be in English (US).
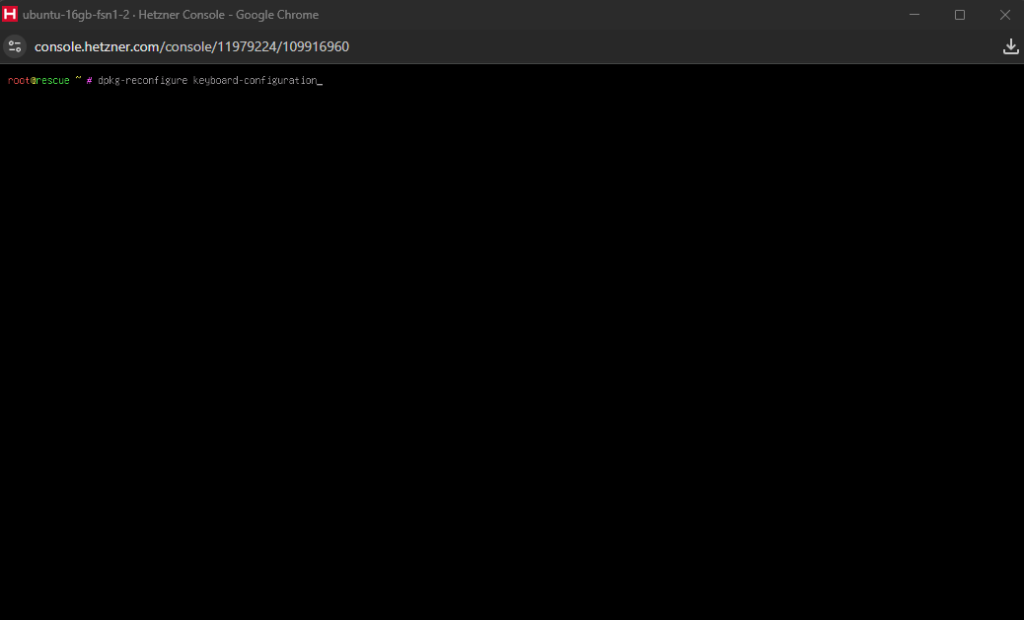
dpkg-reconfigure keyboard-configuration by pasting dpkg/reconfigure kezboard/configuration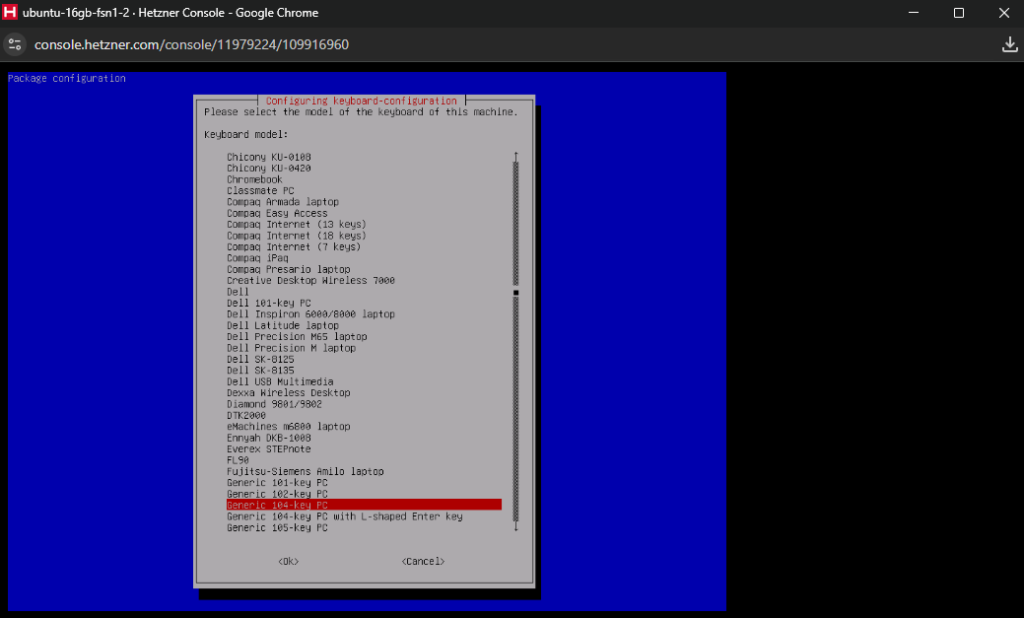
Generic 104-key PC
English (US)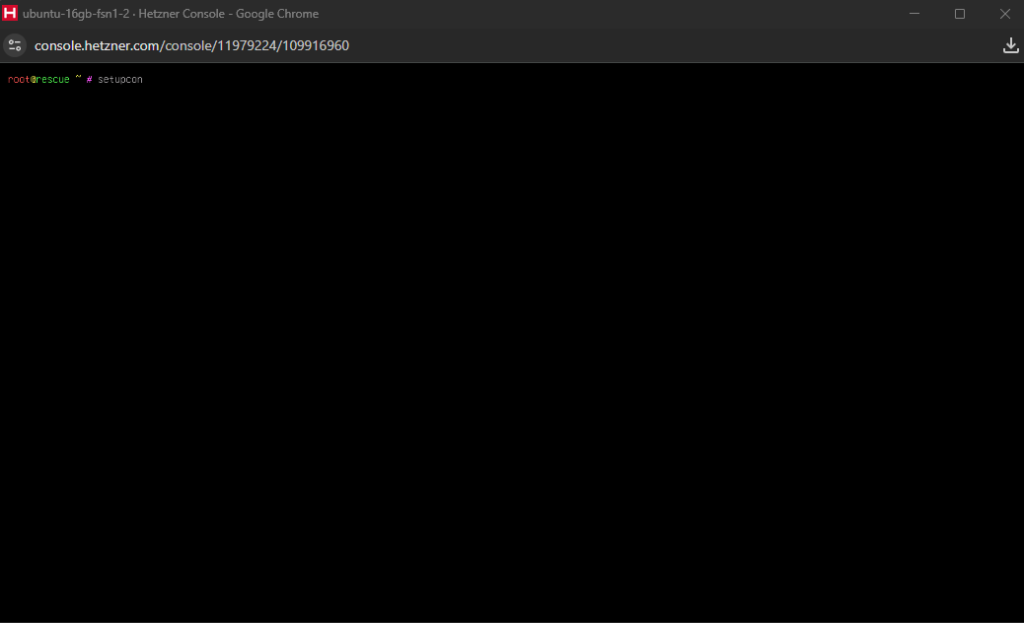
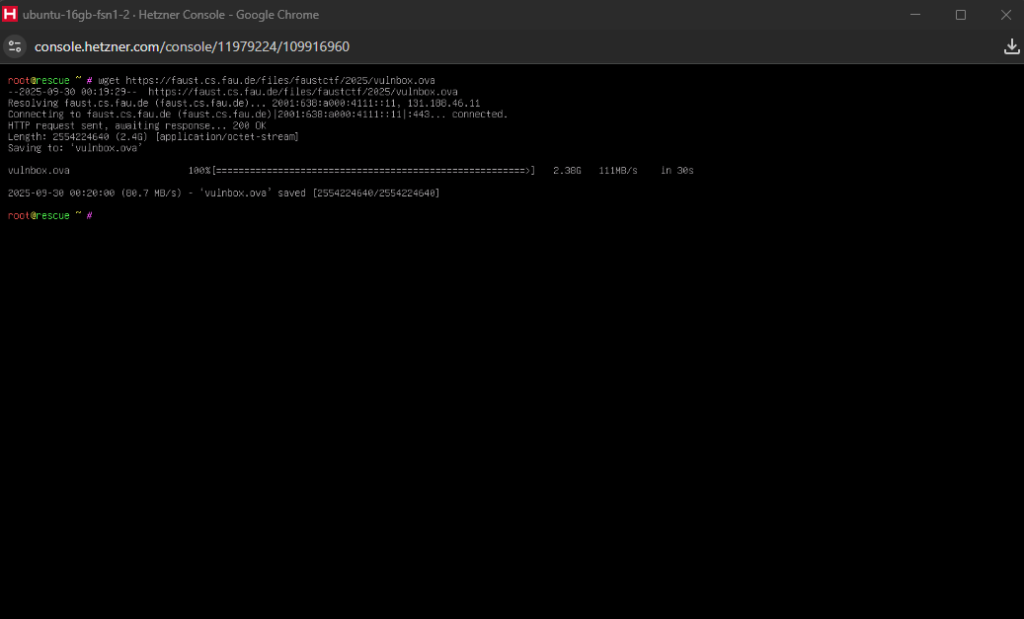
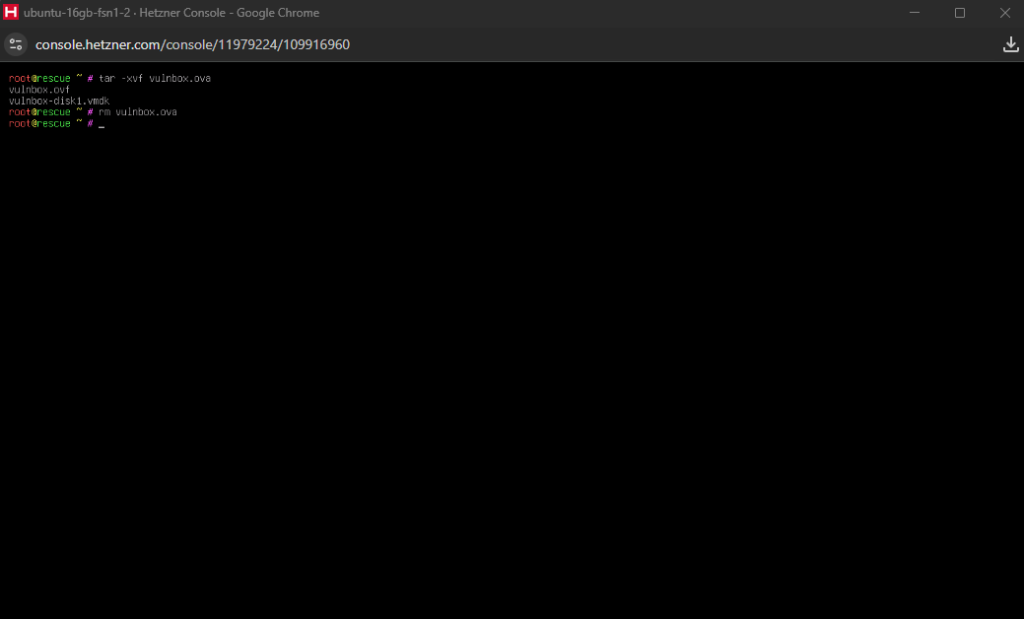
setupcon so that the changes are appliedLet’s now download the vulnbox OVA container provided by the CTF organisers. You can use wget to do that, just be careful when pasting the URL as it may be entered with https;// instead of https://. When the download completes, extract the OVA using tar -xvf vulnbox.ova and then delete the OVA file using rm vulnbox.ova (to save space).
Now, we have the vulnbox’s disk in the form of a VMDK file, and we can clone it to our server’s disk using qemu-img to convert it and write the results directly on the /dev/sda where the main disk of the server is (this will take one or two minutes).
qemu-img convert -O raw vulnbox-disk1.vmdk /dev/sda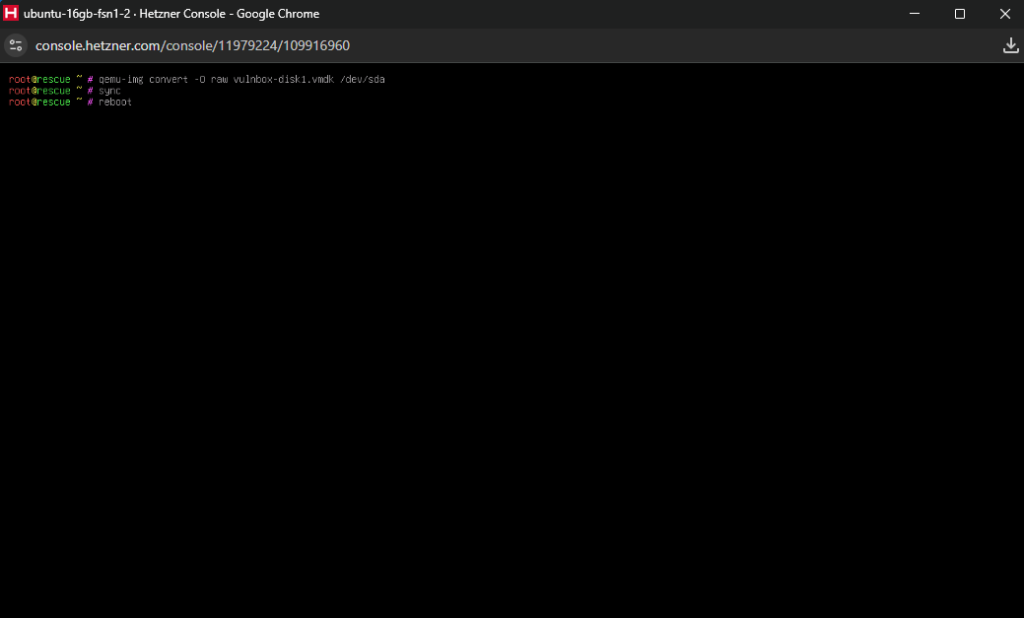
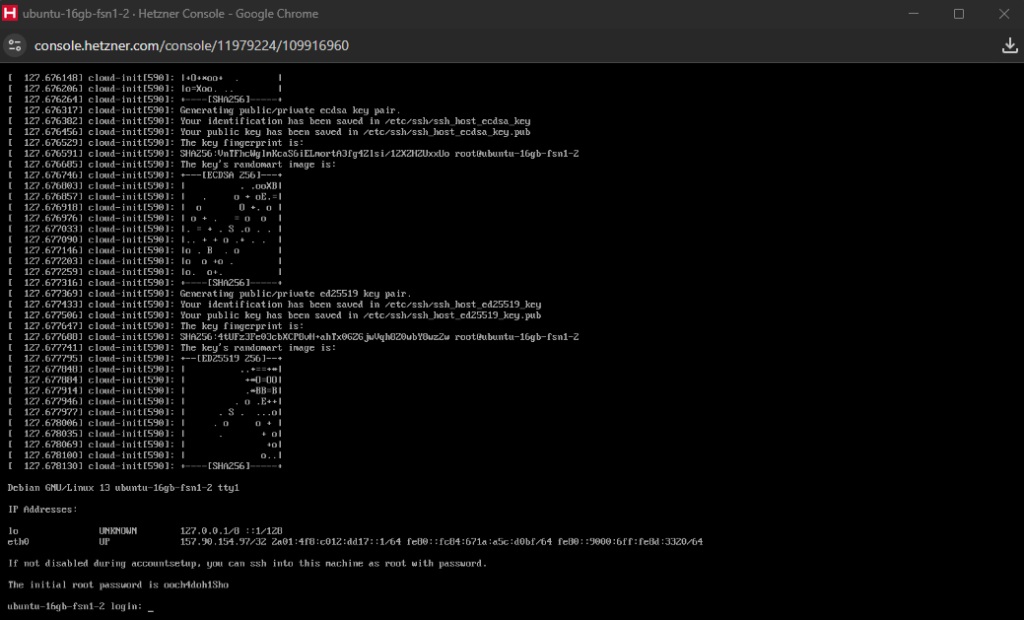
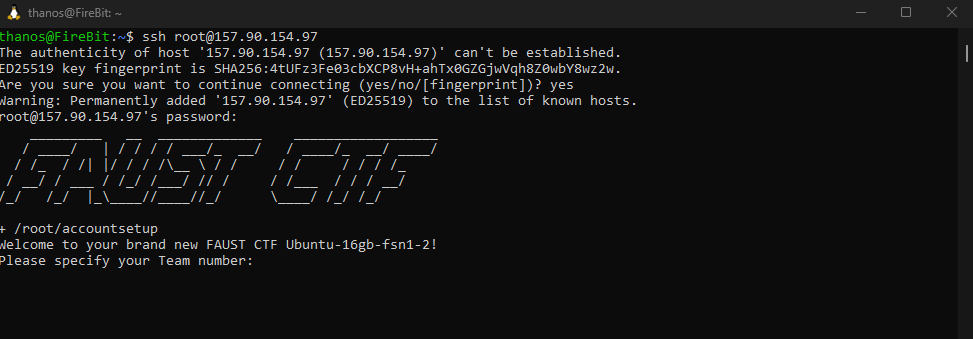
sync and reboot.The server should now be ready to boot as the vulnbox. You can now copy the random root password and connect to it using SSH, to configure the vulnbox so that it can be used with your team.
Conclusion
To sum up, we were able to utilise the VMDK disk file of the provided vulnbox OVA container to easily import the FaustCTF on a Hetzner server. During the competition, we had no problem with our vulnbox and our total credits consumption was around 3€ (running the CPX41 for about 8 hours).