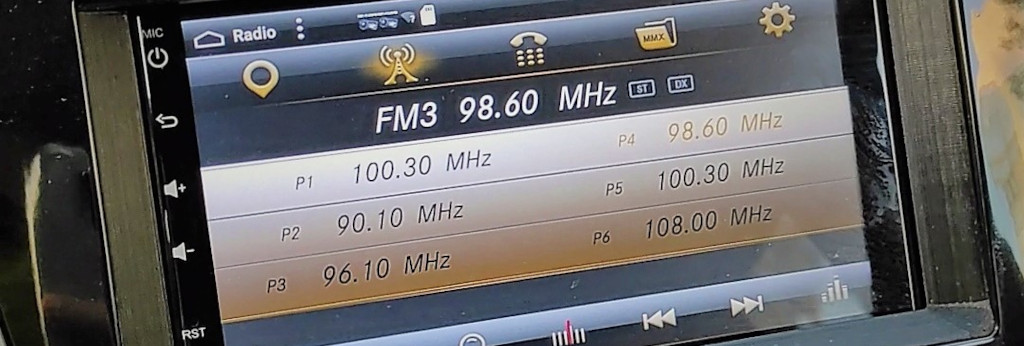
I have been using a Nissan Note for some years now and ever since we bought it, we had problems with the pre-installed head unit. The problems were mostly related to its poor performance, its outdated off-line navigation maps, and its hard-to-use capacitive screen. For the last 2 years, the head unit was almost unusable as touches were not registered and ghost touches started appearing. Thus the time had come to change the head unit and upgrade to something better.
Picking a cheap head unit
Since the prices for a similar of shell well-known brand head unit were too high, I bought a cheap one, the YUEHOO YH-605, a 7-inch 2 DIN head unit suggested by the Unboxing Specialist. The unit is based on Android and features a decent 4G RAM and 32G ROM. It runs on an Allwinner CPU, nothing fancy but gets the job done.
Planning the wiring
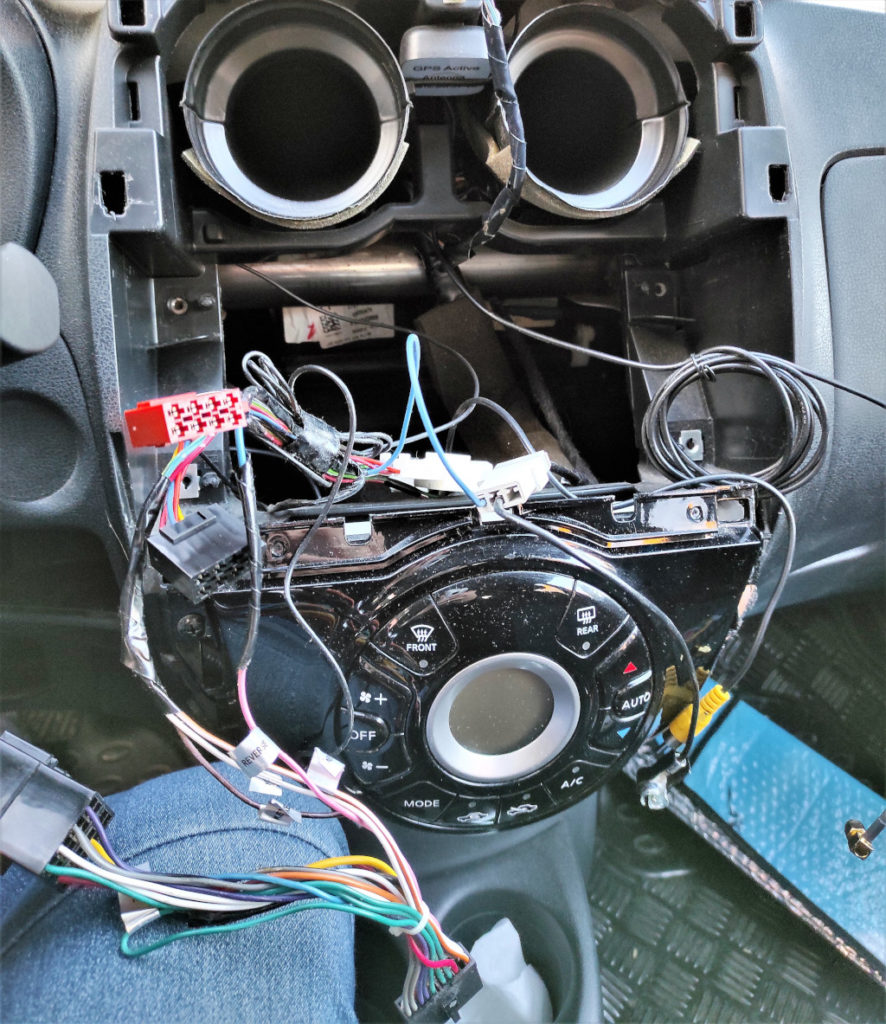
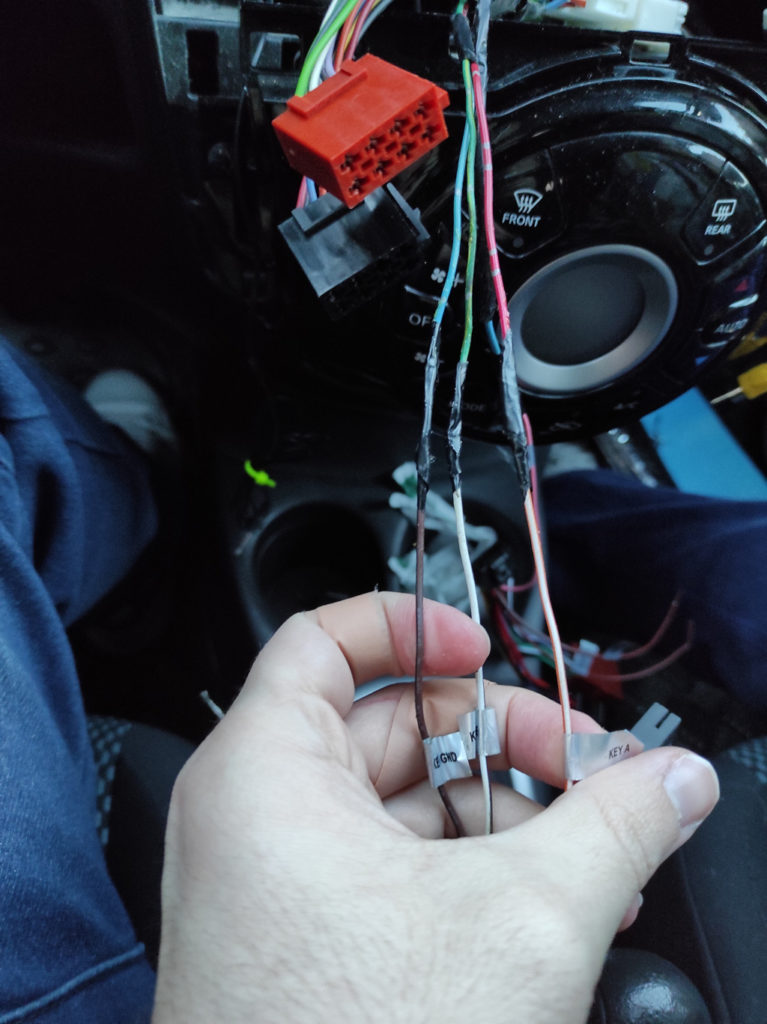
The first thing to do was to remove the front frame of the dashboard to expose the old Phonocar VM057 head unit. Then I checked the existing cables and interfaces so that I could get an idea of what cables/adapters I would need.
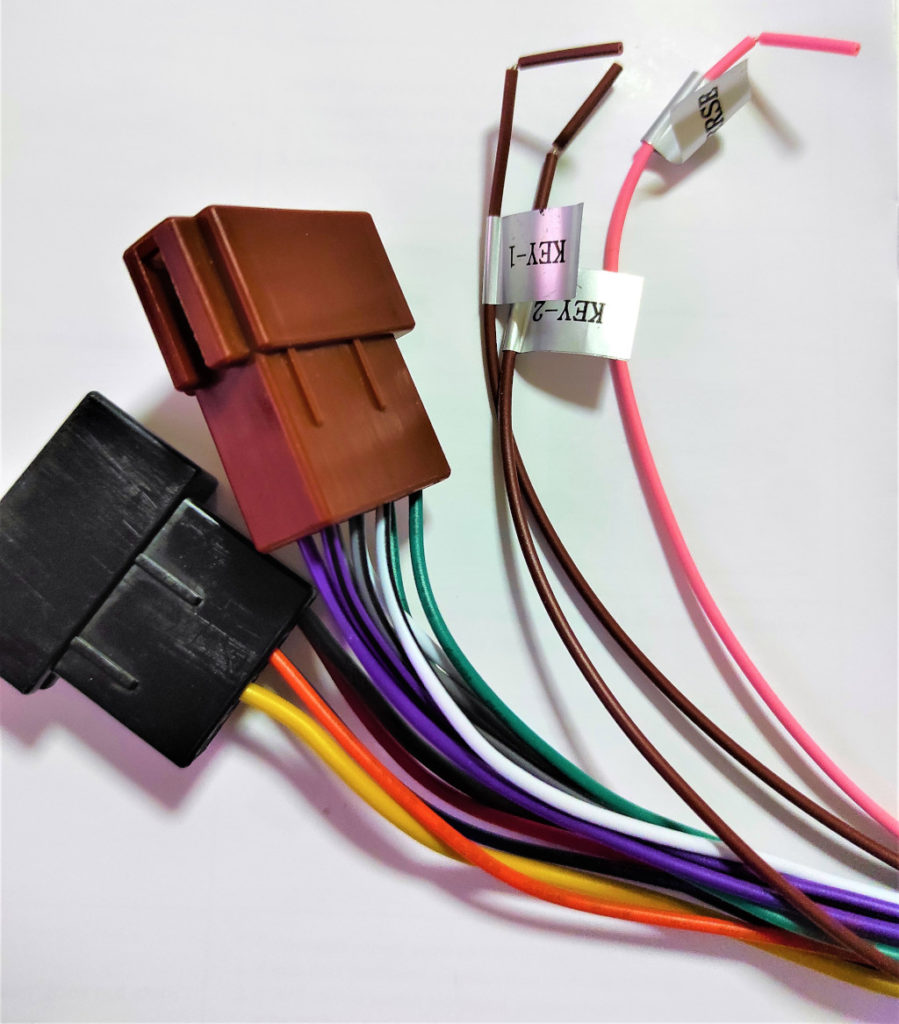
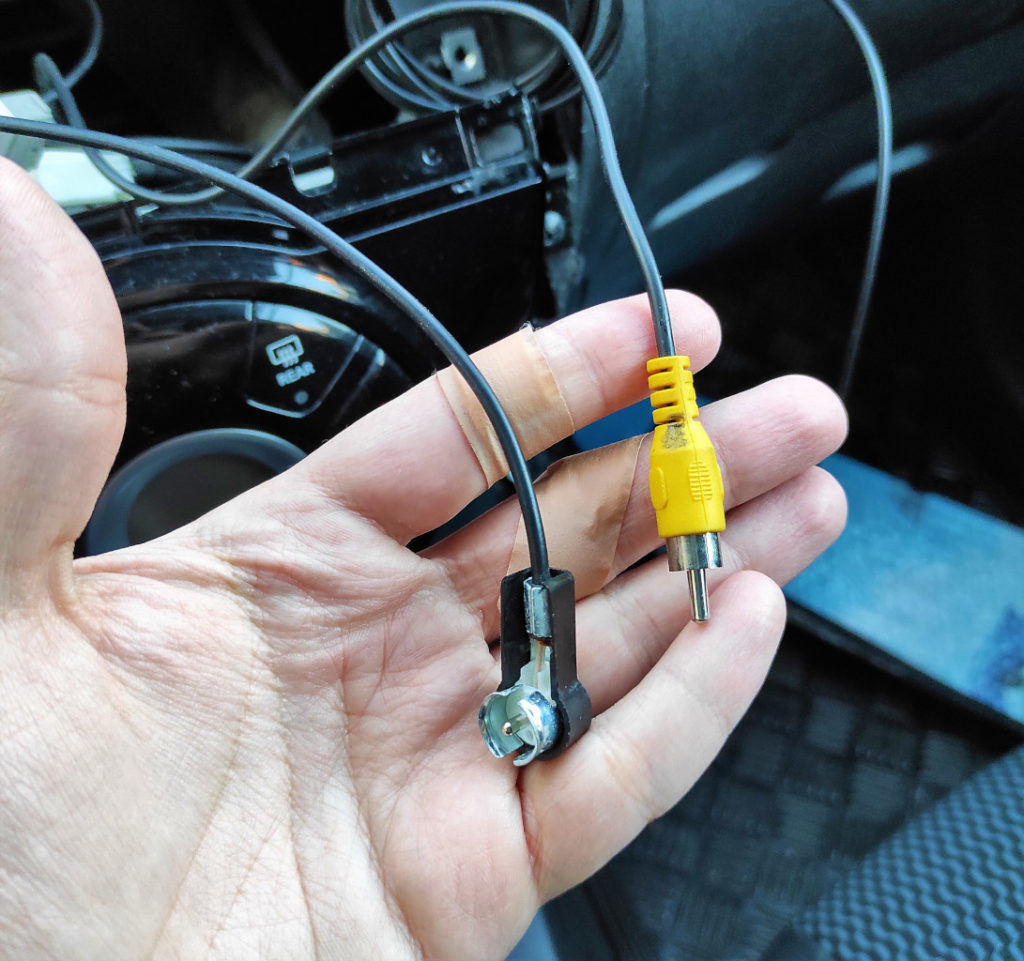
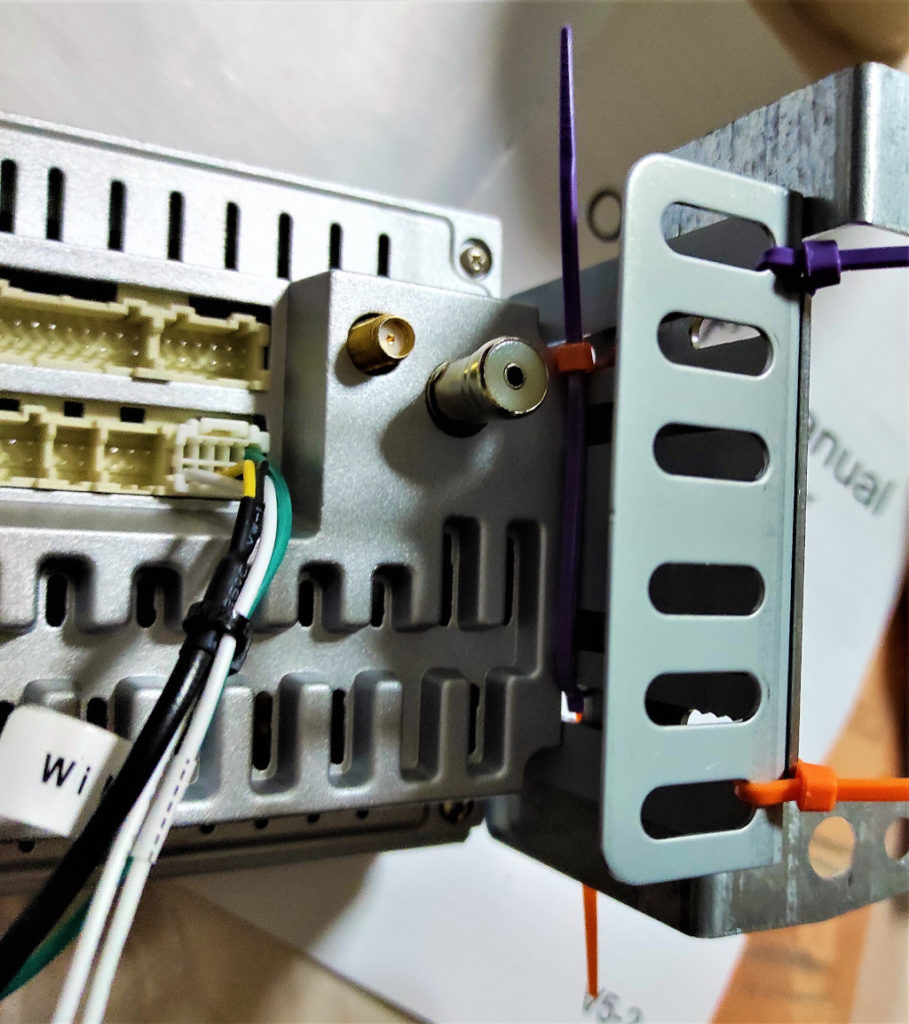
The antenna connector was not compatible and an “ISO plug to DIN radio” adapter was needed, which I bought from eBay for 1.40 euros. Additionally, since I preferred a pluggable way to connect the rest of the cables, rather than connecting each wire to the appropriate one, I also bought a “16 pin ISO wiring harness adapter” from eBay for 3.10 euros.
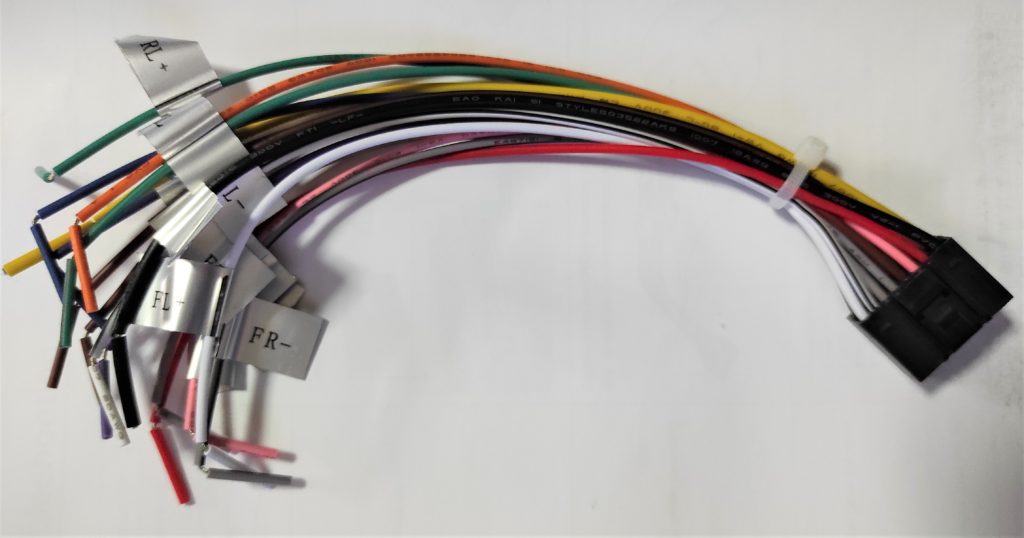
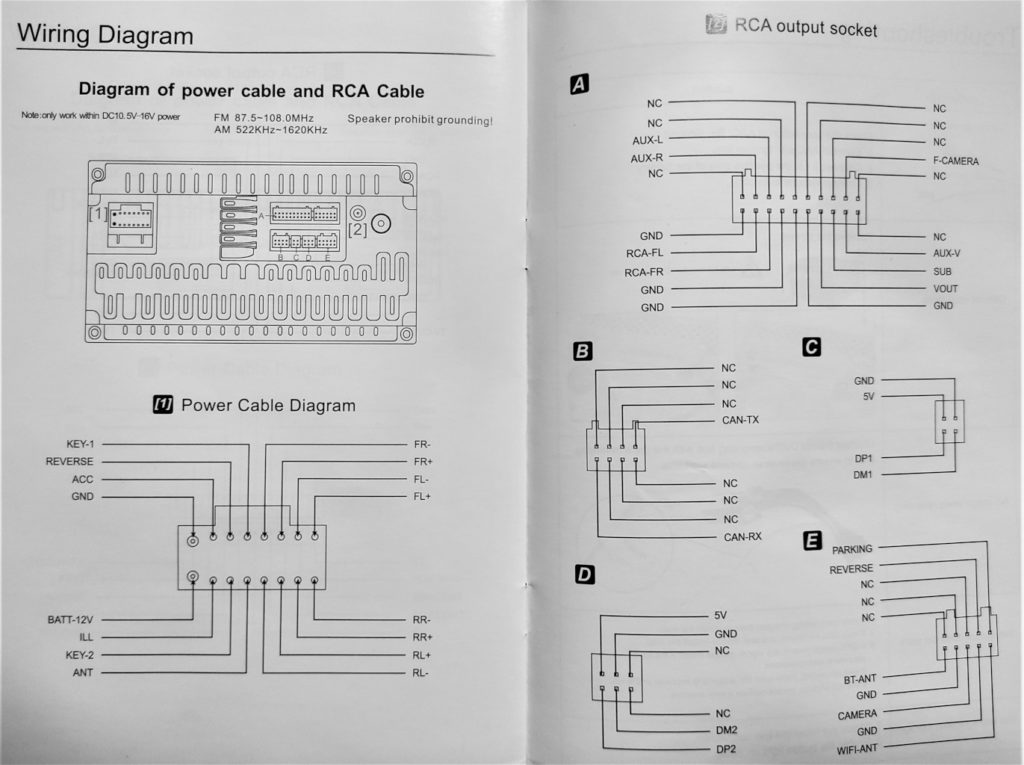
I noticed that the included wires colors and positions on the adapter were not matching the harness adapter I bought from eBay. Thus, I had to reconfigure them based on the original and the manual’s diagram.
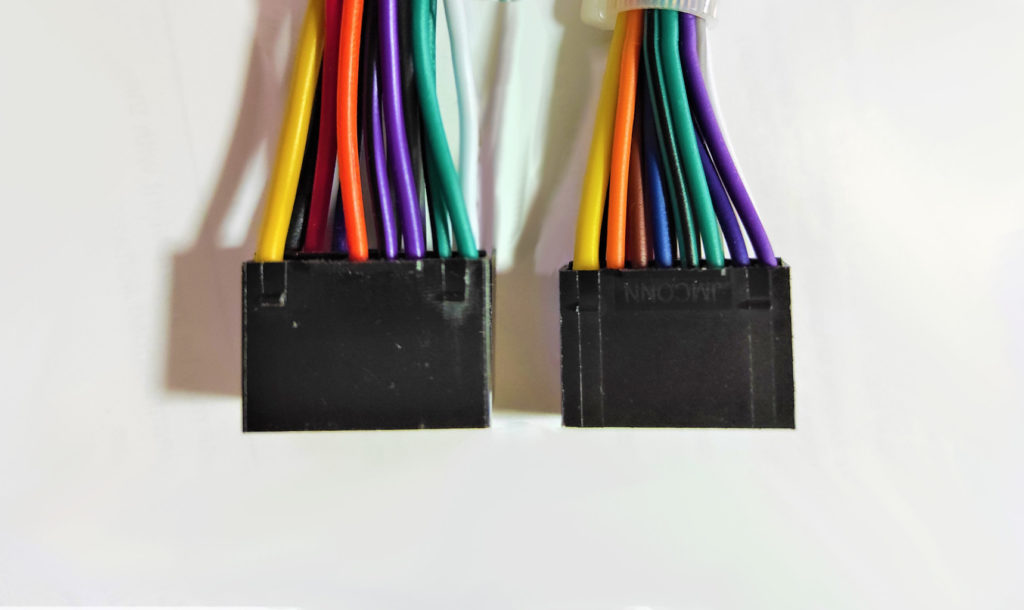
(The colors and the positioning is not correct)
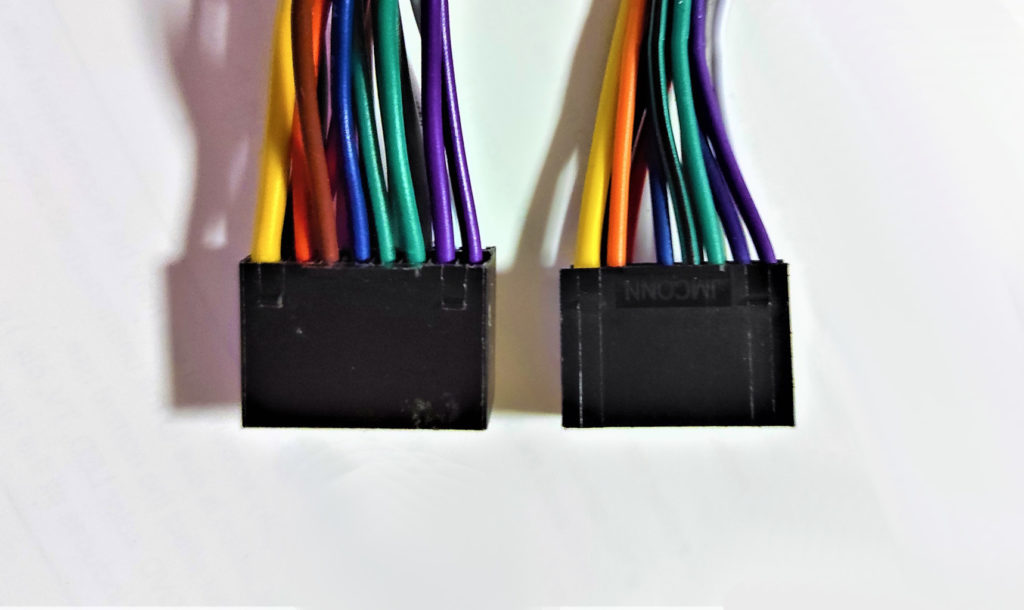
(Wirings re arranged based on YUEHOO’s cables and missing cables were moved to the herness adapter)
Some of the wires, like the reverse signal and the steering wheel’s keys, had to be wired directly to the appropriate as they were not connected to the car’s harness output.
Designing a frame adapter
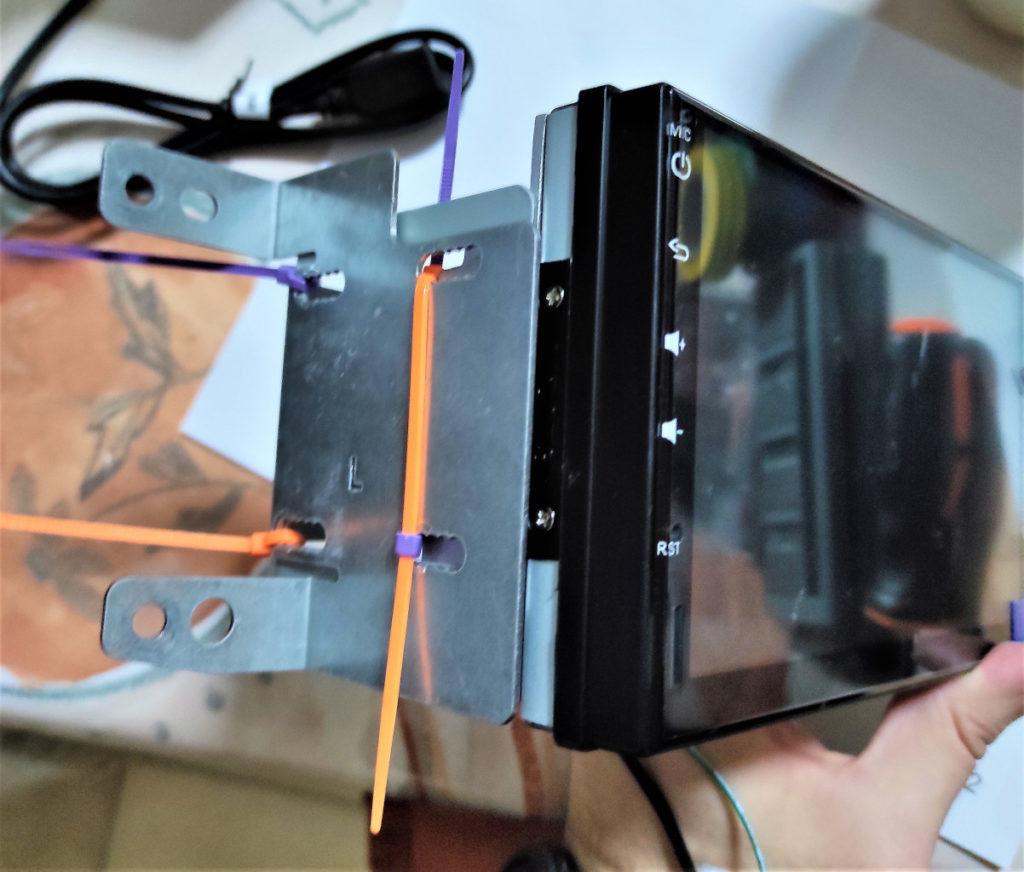
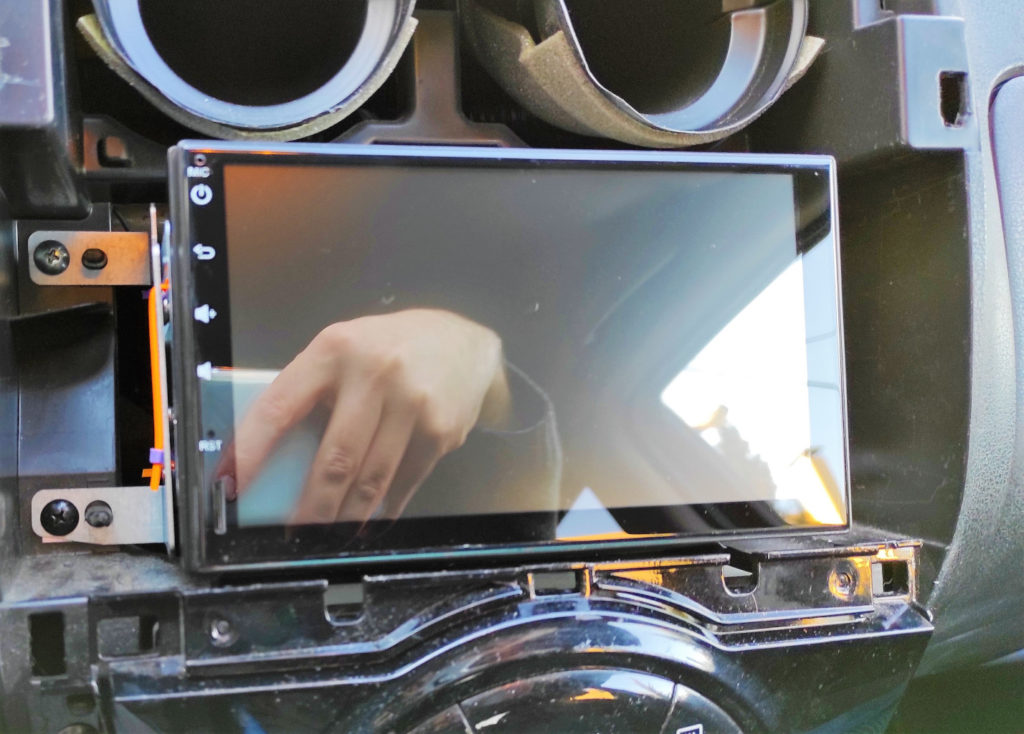
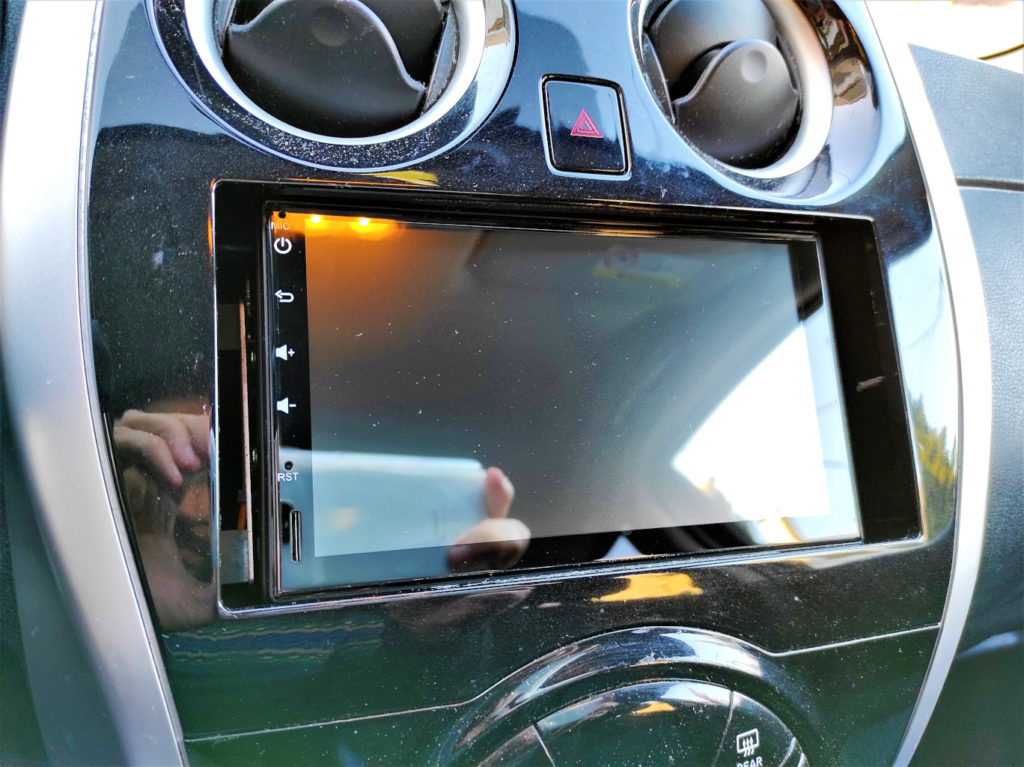
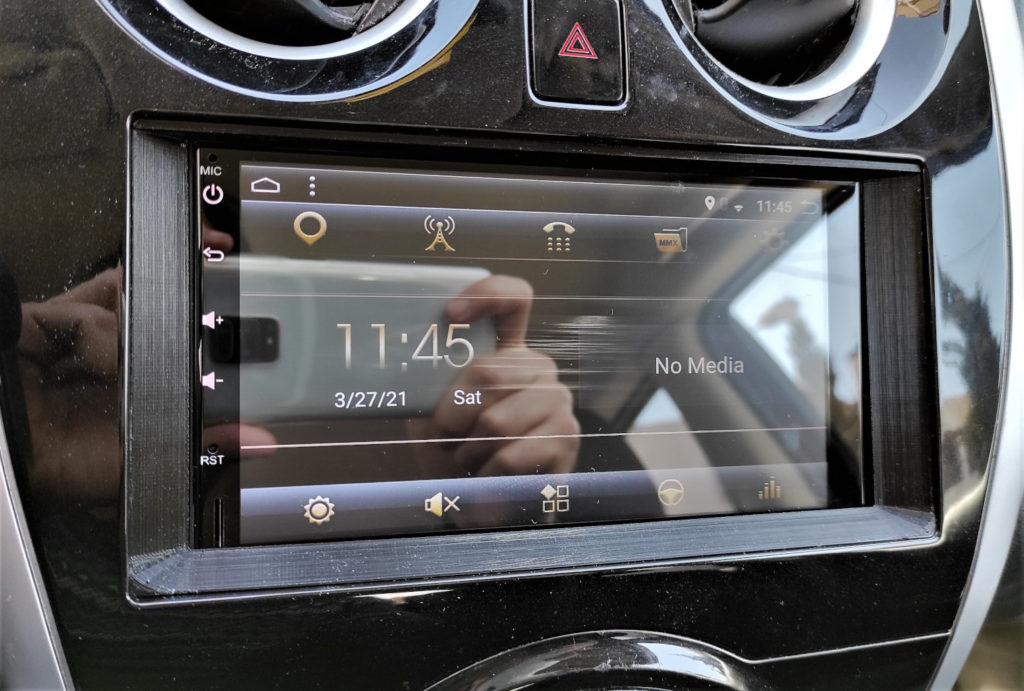
The size of the new head unit was different from the previous one. The older one also featured a small adapter frame that was used to fill the excess space between the car’s frame and the head unit. Since the new frame also left dome space around it, I had to design a new adapter frame and print it with my 3D printer. Initially, I used PLA to print the frame but due to its low resistance to heat, it melted during a particularly hot day in the summer, thus I was forced to reprint it using ABS.
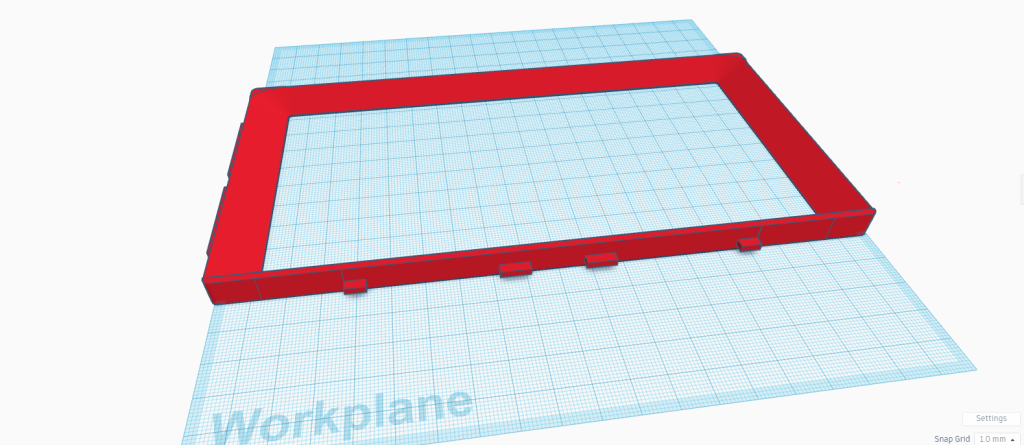
Easily designed using TinkerCAD.
Software and Android Auto
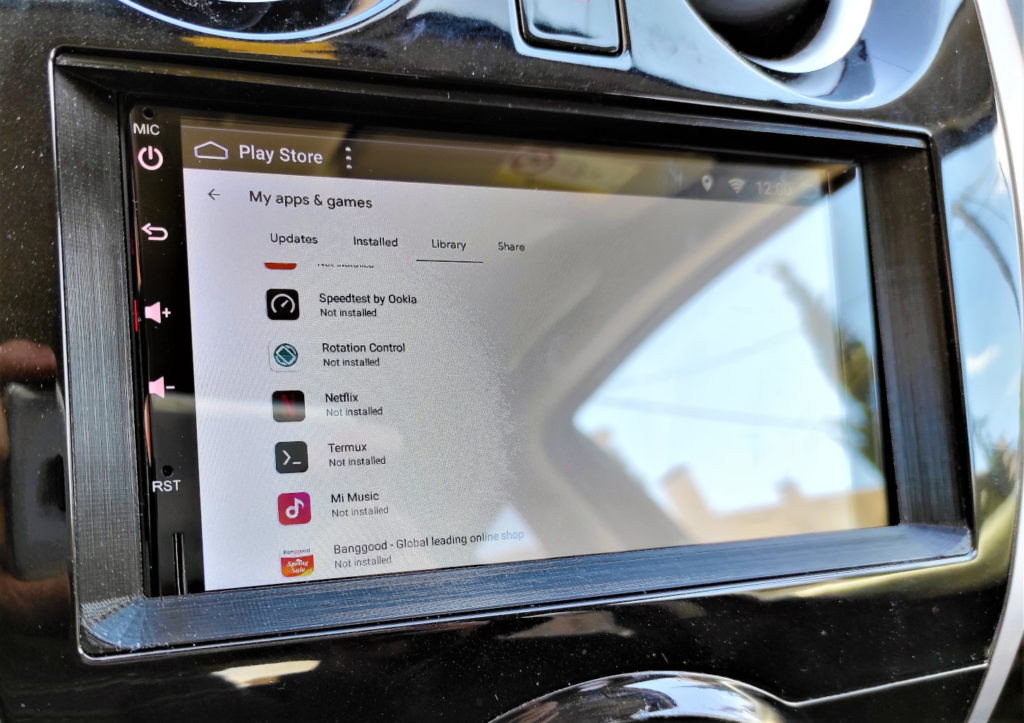
The new Android-based head unit featured a simple launcher with shortcuts to things like Navigation and Radio. Apart from that, through the PlayStore app, access to more Android applications was available. Thus, to add support for Android Auto, I bought a Headunit Reloaded Emulator for Android Auto. Personally, I bought it through the developer’s website using PayPal, though it is also available from PlayStore. I left a USB port available in the legs space of the front seat passenger and I use it to connect my Android phone with the head unit.
Conclusion
Changing your car’s head unit is not impossible though you have to be ready to face some issues. First, you have to make sure that the new head unit has the appropriate dimensions and can be mounted on the existing frame. Secondly, you will have to fix the wiring as the new unit may not feature the same connectors and ports. Lastly, you have to make sure that the new head unit’s software covers your needs.
Overall, YUEHOO 7 (YH-605) is good for its price, nothing special. It gets the job done, though it boots a bit slow, and additional software is needed to make the Android auto of your phone work.
